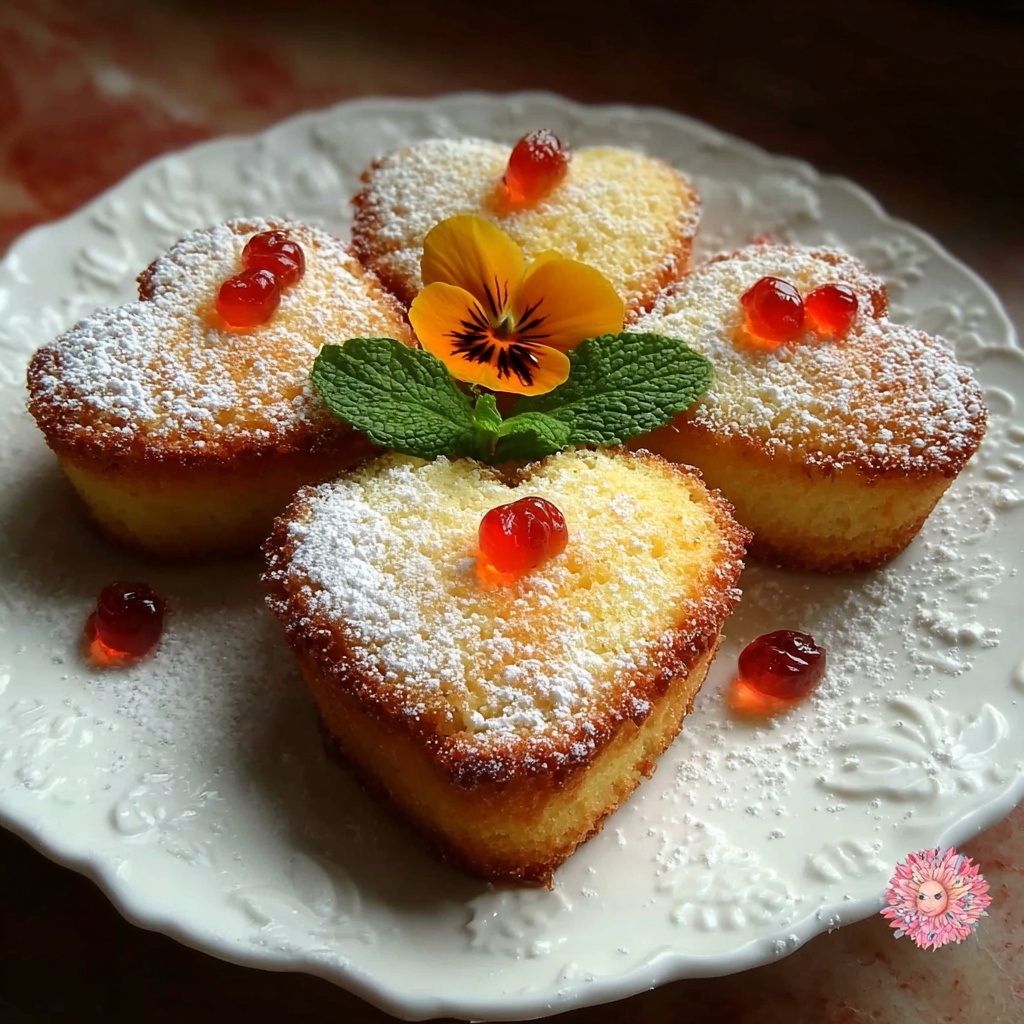
If you’re searching for a delightful and charming treat to brighten up any occasion, you’re going to fall head over heels for the Печенье в форме сердца с цветком Recipe. These heart-shaped cookies adorned with delicate flower designs are not only a feast for the eyes but also a perfect blend of buttery, tender cookie and sweet, vibrant icing. The joy of making something so special at home and sharing it with loved ones is truly unmatched. Let me walk you through this beautiful recipe that’s sure to become one of your favorites.
Ingredients You’ll Need
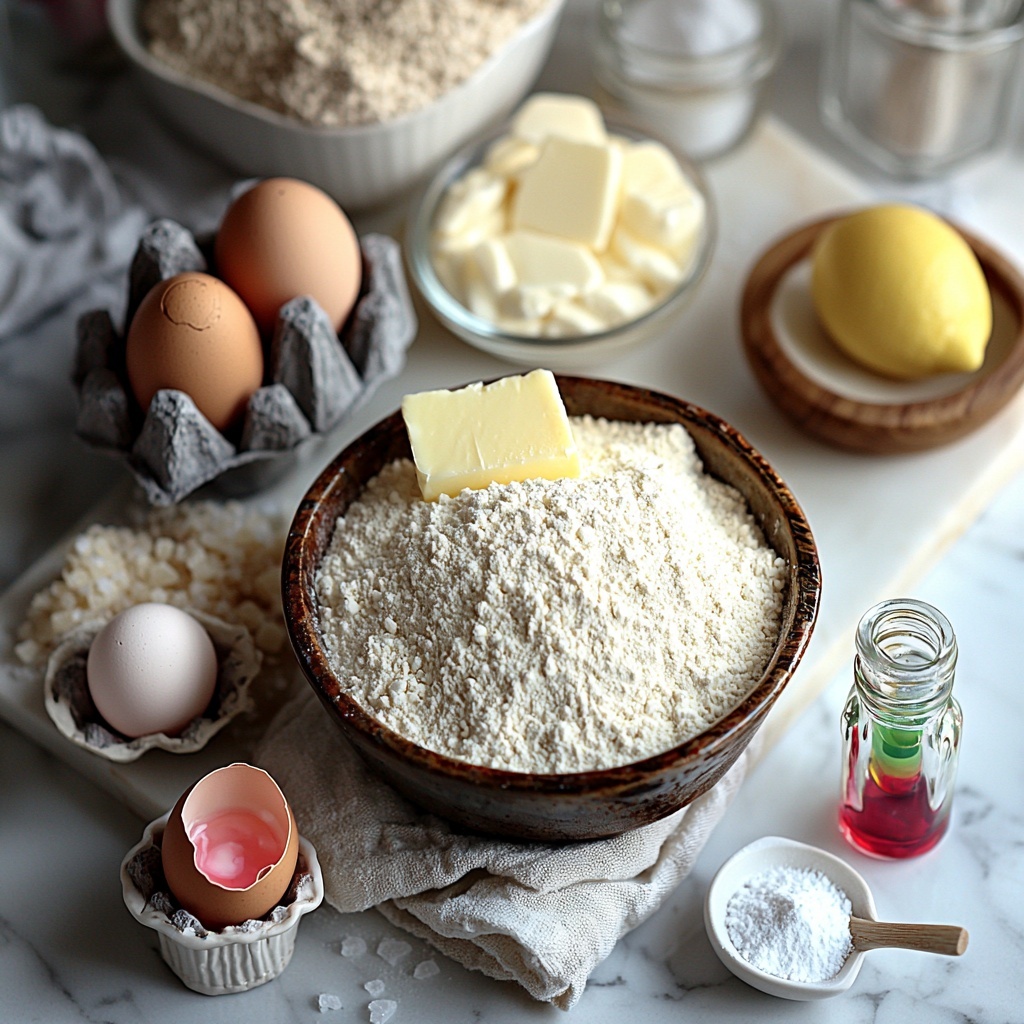
This recipe relies on a handful of simple ingredients, each bringing its own magic to the table. From the crisp texture provided by the flour to the gorgeous flower decoration made with colored icing, every component plays a vital role in crafting these elegant cookies.
- 200 г муки: The foundation that gives structure and tenderness to the cookies.
- 100 г сливочного масла: Adds rich flavor and a melt-in-your-mouth texture when well-creamed.
- 80 г сахарной пудры: Provides sweetness and a smooth texture to the dough.
- 1 шт яйцо: Binds the ingredients together and enriches the dough.
- 1 ч.л ванильного экстракта: Introduces a warm aromatic note that complements the sweetness perfectly.
- ½ ч.л разрыхлителя: Helps the dough rise slightly for a tender bite.
- щепотка соли: Balances the sweetness and enhances flavors.
- 100 г сахарной пудры (for icing): Essential for creating the smooth and glossy glaze.
- 1 шт яичный белок: Key ingredient in the royal icing for structure and sheen.
- 1 ч.л лимонного сока: Adds brightness to the icing and helps it set.
- несколько капель красного пищевого красителя: Brings the flower petals vividly to life.
- несколько капель зелёного пищевого красителя: Perfect for painting delicate leaves for the floral design.
How to Make Печенье в форме сердца с цветком Recipe
Step 1: Mix Dry Ingredients
Start by combining the flour, baking powder, and a pinch of salt in a bowl. This mix sets a balanced base for the dough, ensuring every bite is tender and just right.
Step 2: Cream Butter and Sugar
In a separate bowl, whip the softened butter and powdered sugar until light and fluffy. This step is crucial for that melt-in-your-mouth texture and lays the foundation for sweetness.
Step 3: Add Egg and Vanilla
Incorporate the egg and vanilla extract into the butter mixture, beating until smooth. These ingredients enrich the dough and enhance its flavor.
Step 4: Combine Wet and Dry Ingredients
Gradually blend the dry ingredients into the wet bowl, mixing carefully until the dough comes together without overworking it. This prevents toughness and keeps the cookies tender.
Step 5: Chill the Dough
Wrap your dough in plastic wrap and refrigerate for 30 minutes. Chilling helps the dough firm up, making it easier to roll and cut precise heart shapes.
Step 6: Roll and Cut
Lightly flour your work surface and roll out the chilled dough to about 5 mm thickness. Use a heart-shaped cookie cutter to cut out your cookies and place them onto a baking tray lined with parchment paper.
Step 7: Bake and Cool
Bake your cookies in a preheated oven at 180 °C for 10 to 12 minutes until they turn a lovely light golden color. Once done, allow them to cool completely before decorating to avoid melting the icing.
Step 8: Prepare the Icing
Beat the egg white with lemon juice and slowly incorporate powdered sugar until you achieve a thick, glossy royal icing. Divide the icing into three bowls to mix in red and green food coloring for the flower and leaf details.
Step 9: Decorate the Cookies
Using piping bags, outline each heart cookie with white icing, then fill in the center. Allow this to set slightly. Next, use red icing to craft a lovely flower on each cookie and green for leaves, turning each cookie into an edible work of art.
Step 10: Let the Icing Set
Allow your decorated cookies to rest at room temperature until the icing fully hardens. This sets the beautiful floral design and keeps everything perfectly in place.
How to Serve Печенье в форме сердца с цветком Recipe
Garnishes
Enhance your cookies with a dusting of edible glitter or a gentle dust of powdered sugar to add a whimsical touch that catches the light beautifully.
Side Dishes
Pair these charming cookies with a warm cup of tea or coffee, or even a refreshing glass of milk. Their sweet, buttery flavor complements almost any cozy drink perfectly.
Creative Ways to Present
Arrange your heart-shaped cookies on a floral-themed platter or wrap them individually in clear cellophane tied with a colorful ribbon. These little touches turn your homemade cookies into stunning gifts or festive table centerpieces.
Make Ahead and Storage
Storing Leftovers
Store your cookies in an airtight container at room temperature for up to a week. This keeps them crisp and maintains the icing’s vibrant colors.
Freezing
You can freeze the baked and fully cooled cookies before decorating by placing them in a single layer on a baking sheet, then transferring into a sealed bag once frozen. Decorate after thawing for best results.
Reheating
There’s no need to reheat these cookies as they are best enjoyed fresh or at room temperature to preserve the delicate texture and crisp icing.
FAQs
Can I use other shapes besides hearts for this recipe?
Absolutely! While hearts add a lovely romantic touch, you can use any cookie cutter shape you love, from stars to circles, and the decorating technique will work just as beautifully.
Is it possible to make these cookies without eggs?
This recipe relies on eggs for binding and rich flavor, so omitting them would change the texture significantly. However, if you need an egg-free version, I can help suggest suitable substitutes.
How long does the royal icing take to dry completely?
Royal icing typically takes a few hours to fully set at room temperature. For best results, leave your decorated cookies undisturbed overnight.
Can I prepare the dough in advance?
Yes! The dough can be made and refrigerated for up to 24 hours before rolling out. Just make sure it is well wrapped to prevent it from drying out.
What tips do you have for getting the icing colors right?
Start with a few drops of food coloring and add more gradually to reach your desired saturation. Mixing the icing well after each addition helps you achieve smooth, consistent colors.
Final Thoughts
Making the Печенье в форме сердца с цветком Recipe is such a joy, not just because of how beautiful the cookies turn out, but because of the love and care you put into each step. Whether you’re baking for a special someone or simply treating yourself, these heart-shaped floral cookies promise to bring smiles and warmth. I can’t wait for you to try making them – your kitchen will instantly feel a little brighter and sweeter!
Print
Печенье в форме сердца с цветком Recipe
- Prep Time: 40 minutes
- Cook Time: 12 minutes
- Total Time: 1 hour 27 minutes
- Yield: 20 heart-shaped cookies
- Category: Baking
- Method: Baking
- Cuisine: Russian
Description
This charming heart-shaped cookie recipe features a tender, buttery dough topped with beautifully colored royal icing to create delightful floral decorations. Perfect for special occasions or gifting, these cookies combine a subtle vanilla flavor with colorful, sweet icing art for a visually appealing and delicious treat.
Ingredients
Dough
- 200 g flour
- 100 g butter, softened
- 80 g powdered sugar
- 1 egg
- 1 tsp vanilla extract
- ½ tsp baking powder
- Pinch of salt
Royal Icing
- 100 g powdered sugar
- 1 egg white
- 1 tsp lemon juice
- Several drops red food coloring
- Several drops green food coloring
Instructions
- Mix Dry Ingredients: In a bowl, combine the flour, baking powder, and salt thoroughly to create an even mixture.
- Cream Butter and Sugar: In a separate bowl, beat the softened butter with powdered sugar until the mixture becomes fluffy and light.
- Add Egg and Vanilla: Incorporate the egg and vanilla extract into the butter mixture, beating until the ingredients are well combined and smooth.
- Form Dough: Gradually add the dry ingredient mixture to the wet ingredients, mixing gently until a cohesive dough forms.
- Chill Dough: Wrap the dough tightly in plastic wrap and chill it in the refrigerator for 30 minutes to firm up and make it easier to work with.
- Roll Out Dough: On a floured surface, roll the dough to an even thickness of 5 mm, preparing it for cutting.
- Cut Shapes: Use a heart-shaped cookie cutter to cut out cookies and place them onto a baking sheet lined with parchment paper.
- Bake Cookies: Bake the cookies in a preheated oven at 180°C (356°F) for 10 to 12 minutes or until they achieve a light golden color; then allow them to cool completely.
- Prepare Icing: Beat the egg white with lemon juice, gradually adding powdered sugar until you achieve a thick, spreadable royal icing consistency.
- Color Icing: Divide the icing into three portions; keep one white, add red food coloring to the second portion, and green food coloring to the third.
- Outline Cookies: Transfer the white icing into a piping bag and carefully outline the edges of each cookie.
- Fill Cookies: Fill the inside of the outlined area with the white icing and let it dry slightly to form a base layer.
- Decorate Flowers and Leaves: Using the red icing, pipe floral shapes onto the surface, then add leaves using the green icing for a realistic flower design.
- Set Icing: Leave the decorated cookies at room temperature until the royal icing hardens completely, ensuring the designs stay intact.
Notes
- Ensure butter is softened but not melted for the best dough consistency.
- Use fresh egg whites for royal icing and consider pasteurized whites if serving vulnerable populations.
- Allow cookies to cool fully before applying icing to prevent melting.
- For vibrant colors, use gel food coloring instead of liquid.
- Store decorated cookies in an airtight container once icing is dry to maintain freshness.


