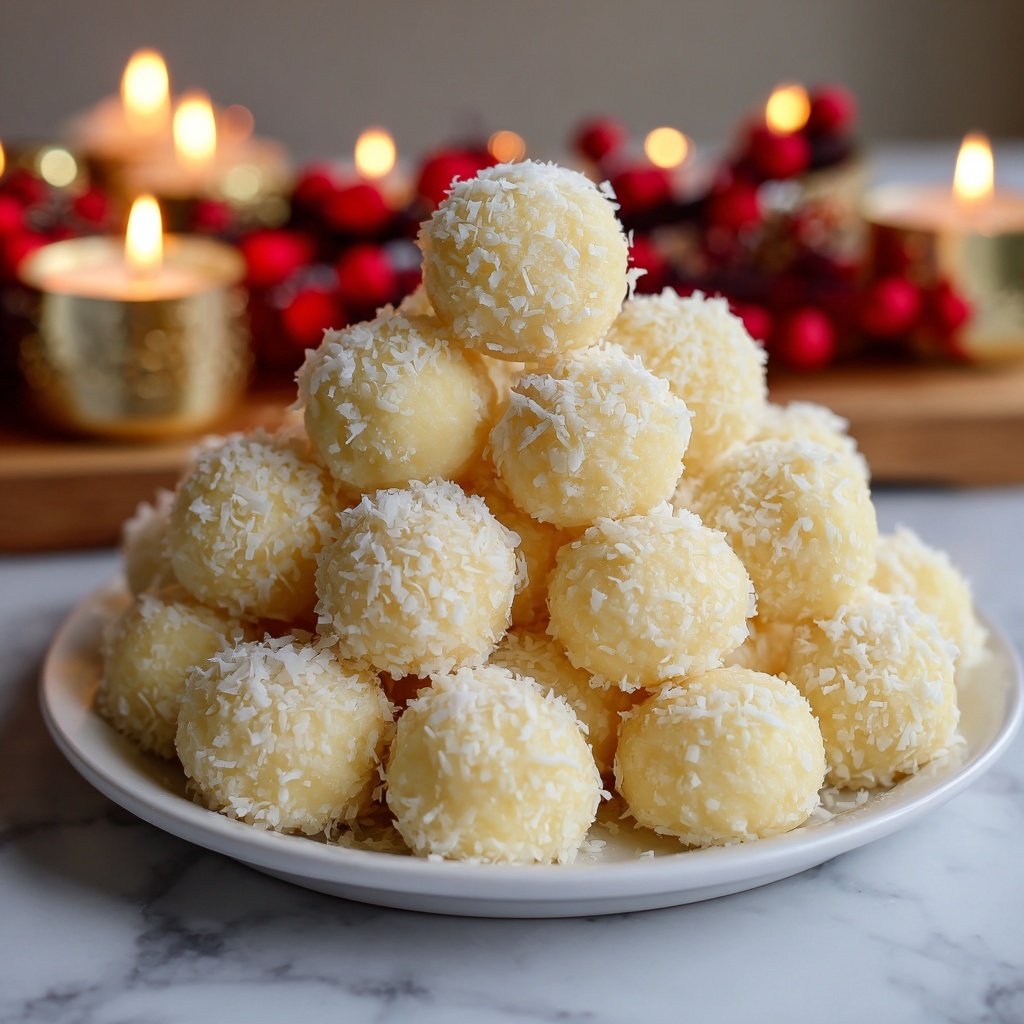
If you are looking for a delightful little treat that melts in your mouth with a refreshing peppermint kiss, look no further than this Easy Butter Mints Recipe. These creamy, melt-away mints are sweet, buttery, and perfectly light, making them a wonderful homemade candy to share with friends or enjoy anytime you crave something special. The charm of this recipe lies in its simplicity and the comforting butter flavor balanced with just the right hint of peppermint, creating a nostalgic yet elegant confection.
Ingredients You’ll Need
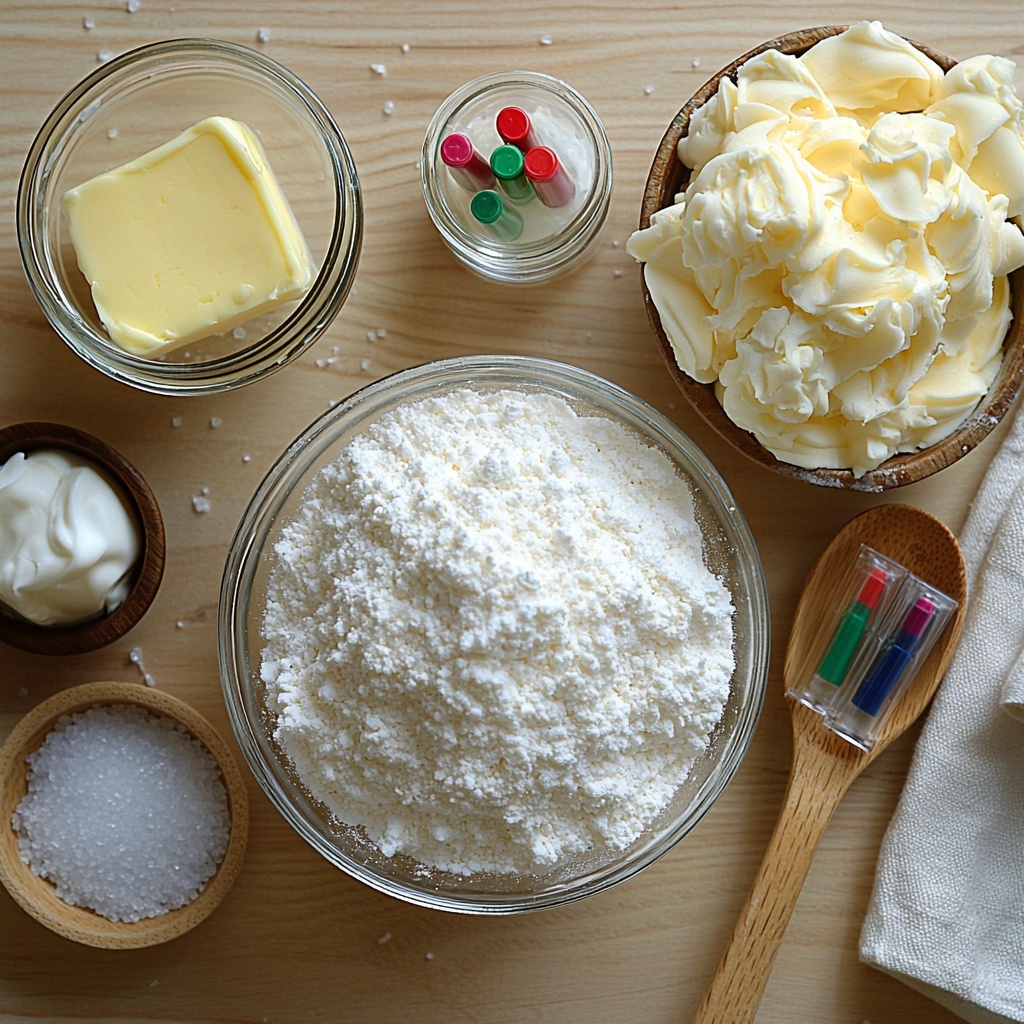
Gathering just a handful of everyday kitchen staples, this Easy Butter Mints Recipe is both approachable and rewarding. Each ingredient plays a vital role in creating the smooth, creamy texture and that signature minty freshness.
- 1/2 cup unsalted butter, softened: Provides the rich, creamy base essential for that melt-in-your-mouth texture.
- 4 cups powdered sugar: Sweetens the mints and helps create the perfect consistency.
- 2 tablespoons heavy cream: Adds moisture and silkiness to the dough for easy shaping.
- 1/2 teaspoon peppermint extract: Delivers the refreshing mint flavor that defines these candies.
- 1/8 teaspoon fine sea salt: Balances sweetness and enhances flavor complexity.
- Gel food coloring, optional: Ideal for adding a pop of color if you want to make these mints more festive or visually appealing.
How to Make Easy Butter Mints Recipe
Step 1: Cream Butter and Salt
Start by creaming the softened unsalted butter together with the fine sea salt in a mixing bowl. Beat until the mixture becomes smooth, creamy, and lightens slightly in color. This step ensures your base is perfectly fluffy, which is the secret to those tender mints that practically dissolve on your tongue.
Step 2: Add Peppermint Extract and Heavy Cream
Next, mix in the peppermint extract and heavy cream, beating until everything is fully incorporated and the mixture appears silky. This combination lends that unmistakable fresh mint aroma and keeps the dough moist enough to work with easily.
Step 3: Gradually Add Powdered Sugar
On a low speed, slowly add the powdered sugar about a cup at a time. Doing this gradually prevents the sugar from flying everywhere and allows you to integrate it smoothly. Keep mixing until a thick, soft dough forms that’s firm but pliable, ready for shaping.
Step 4: Adjust the Dough Texture
Feel the dough’s consistency. If it’s sticky, add a little more powdered sugar. If it feels dry or crumbly, incorporate a few small drops of heavy cream. This little adjustment ensures your dough is just right for rolling and cutting without sticking or falling apart.
Step 5: Add Optional Gel Food Coloring
If you want to jazz up your mints, divide the dough into portions and knead a drop or two of gel food coloring into each one until evenly colored. It’s a fun way to create a rainbow of mints that brighten any candy dish or holiday gathering.
Step 6: Roll and Cut Into Pieces
Lightly dust your work surface with powdered sugar, then roll each colored portion of dough into long ropes about half an inch thick. Using a small sharp knife or bench scraper, cut these ropes into tiny pillow-shaped pieces about half an inch wide. Make sure to separate each piece to keep them from sticking together.
Step 7: Dry the Mints
Finally, spread the cut mints on a parchment-lined baking sheet in a single layer and let them dry at room temperature for at least 12 hours or overnight. This drying step firms up their outer surface while keeping a tender bite inside, resulting in that classic melt-away texture you’ll love.
How to Serve Easy Butter Mints Recipe
Garnishes
Sprinkle a few mints onto a pretty serving plate garnished with fresh mint leaves or edible flowers to elevate their presentation. Dusting a tiny bit of powdered sugar over them can also add a vintage candy-shop charm that invites a sweet indulgence.
Side Dishes
Easy Butter Mints pair wonderfully with a cup of hot tea or coffee, helping to cleanse your palate after a rich dessert. They’re also a perfect accompaniment to holiday cookie trays, cheese boards, or festive cocktail parties where guests can pop a refreshing mint anytime.
Creative Ways to Present
For a fun twist, package these mints in small glass jars or colorful cellophane bags tied with ribbon for gifts that feel handmade and thoughtful. You can also create candy bouquets or scatter them inside decorative bowls at parties for a charming and delicious touch.
Make Ahead and Storage
Storing Leftovers
Once fully dried, store your Easy Butter Mints in an airtight container at room temperature. They will keep beautifully fresh for 3 to 4 days, maintaining their soft, melt-in-your-mouth texture. Avoid refrigeration as it can dry them out too quickly.
Freezing
If you want to make a big batch to enjoy later, you can freeze these mints by placing them in a sealed container layered with parchment paper to prevent sticking. They’ll stay good in the freezer for up to one month. Just thaw at room temperature before serving.
Reheating
Because these buttery delights are best enjoyed fresh, reheating is not necessary and can affect their delicate texture. Simply bring frozen mints to room temperature and enjoy them as is for that perfect melt-away experience.
FAQs
Can I use salted butter instead of unsalted?
While unsalted butter gives you better control over the saltiness, using salted butter is fine—just skip adding extra sea salt in the recipe to avoid over-seasoning your mints.
What if I don’t have peppermint extract?
Mint extract is the best choice for this recipe’s signature flavor, but you can experiment with vanilla or almond extract for a different twist. Just remember the taste will not be minty.
How long do the mints take to dry properly?
Allow at least 12 hours or overnight for the mints to firm up on the outside. This slow drying step is crucial for achieving their classic melt-in-your-mouth texture.
Can I make these mints vegan or dairy-free?
You can try substituting butter and heavy cream with vegan alternatives like coconut oil and plant-based cream, but the texture and flavor might differ slightly from the traditional version.
Is gel food coloring necessary?
Not at all! The mints are delicious and beautiful in their natural creamy color, but food coloring gives you the option to customize them for holidays or themed events.
Final Thoughts
This Easy Butter Mints Recipe is a charming little project that yields irresistibly delicious homemade candies. Once you try this buttery, creamy, pleasantly minty treat, you’ll find yourself coming back to it again and again, whether for gifting, holidays, or just because. Go ahead, make a batch and share some sweet moments with your loved ones!
Print
Easy Butter Mints Recipe
- Prep Time: 20 minutes
- Cook Time: 0 minutes
- Total Time: 1 hour 20 minutes (including drying time)
- Yield: 8 servings (approximately 100 mints)
- Category: Candy
- Method: No-Cook
- Cuisine: American
- Diet: Vegetarian
Description
Easy Butter Mints are a classic, creamy candy made from unsalted butter, powdered sugar, and peppermint extract. These delightful melt-in-your-mouth mints are simple to prepare with no cooking required and can be colored to match any occasion. Perfect for holiday gatherings, gifts, or a refreshing treat.
Ingredients
Butter Mint Dough
- 1/2 cup unsalted butter, softened
- 4 cups powdered sugar
- 2 tablespoons heavy cream
- 1/2 teaspoon peppermint extract
- 1/8 teaspoon fine sea salt
- Gel food coloring, optional
Instructions
- Cream butter and salt: In a mixing bowl, cream the softened unsalted butter and fine sea salt together until the mixture is smooth, creamy, and slightly lighter in color.
- Add peppermint and cream: Stir in the peppermint extract and heavy cream, then beat the mixture again until fully combined and it looks silky.
- Incorporate powdered sugar: Gradually add the powdered sugar, about one cup at a time, starting on low speed to avoid a sugar cloud, and mix until a very thick, soft dough forms.
- Adjust dough texture: Check the consistency of the dough; add more powdered sugar if sticky or a few drops of cream if it feels dry and crumbly to achieve a workable dough.
- Divide and color dough: If using colors, divide the dough into portions, then knead in a drop or two of gel food coloring until evenly distributed.
- Roll dough into ropes: Lightly dust a surface with powdered sugar and roll each colored portion into long ropes about 1/2 inch thick.
- Cut into pieces: Use a small sharp knife or bench scraper to cut the ropes into tiny pillow-shaped pieces approximately 1/2 inch wide, spacing them so they don’t stick together.
- Dry mints: Spread the cut mints in a single layer on a parchment-lined baking sheet and let them dry at room temperature for at least 12 hours or overnight, until firm on the outside but soft to bite.
Notes
- For consistent size, use a ruler when rolling and cutting the ropes.
- Gel food coloring is preferred to avoid adding extra moisture.
- Storage: Keep mints in an airtight container at room temperature for up to two weeks.
- These mints do not require refrigeration or baking.


