
If you’ve been searching for a delightful treat that combines the rich flavors of chocolate, the sweet tartness of cherries, and an utterly simple baking process, look no further. These Easy Black Forest Thumbprint Cookies – Chocolate, Cherry, and Simple to Make Recipe are a total game-changer. They bring together buttery softness, a hint of almond aroma, and that classic Black Forest charm all in one bite-sized cookie. Perfect for sharing with friends or sneaking a few for yourself, these cookies are as fun to make as they are to eat.
Ingredients You’ll Need
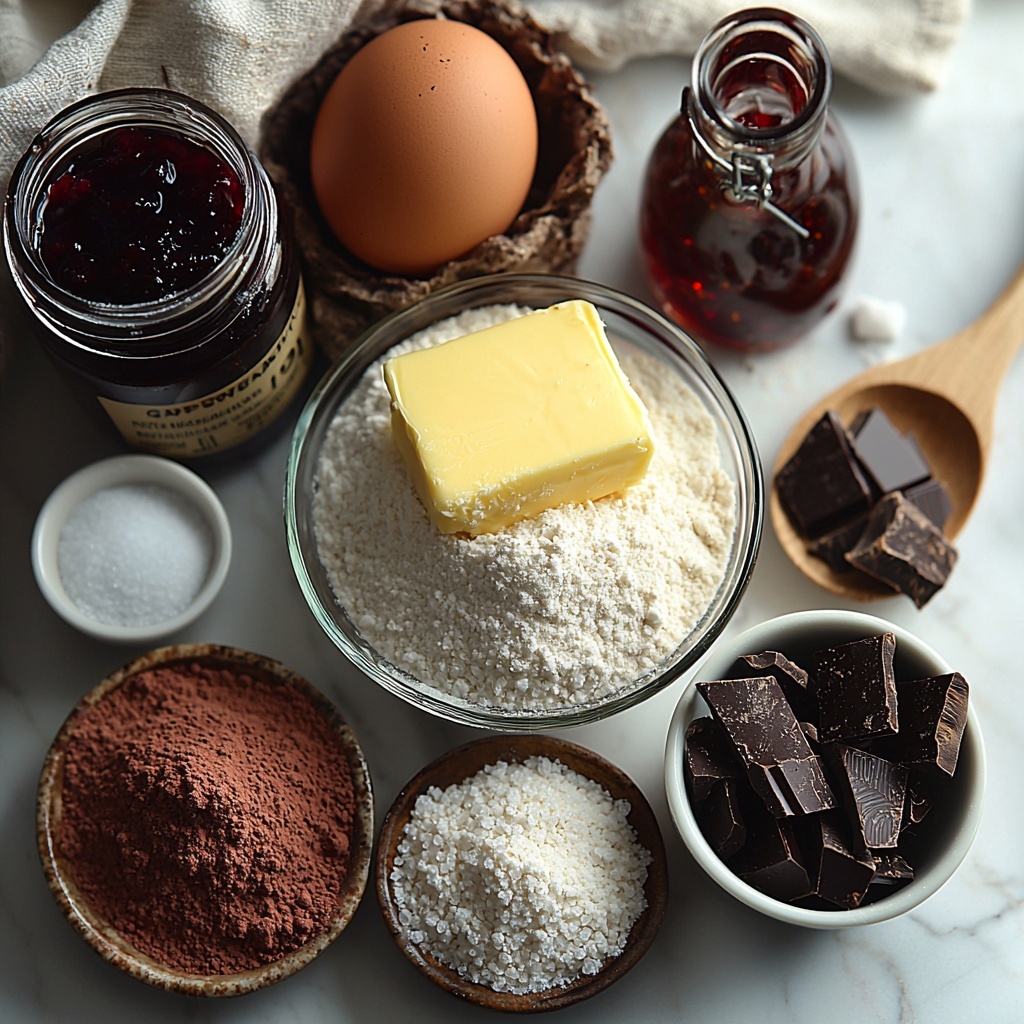
Every ingredient in this recipe plays an essential role in creating the perfect balance of taste and texture. From the creamy butter that tenderizes the dough, to the cocoa powder that delivers deep chocolate flavor, and the cherry preserves that add that unmistakable burst of fruitiness, these staples come together simply yet harmoniously.
- Unsalted butter (1 cup/2 sticks): Softened butter ensures a tender, melt-in-your-mouth cookie texture.
- Granulated sugar (3/4 cup): Provides just the right amount of sweetness and helps create a light, fluffy dough.
- Large egg (1, room temperature): Binds the ingredients and adds richness.
- Pure vanilla extract (2 teaspoons): Enhances all the flavors with a warm, sweet aroma.
- All-purpose flour (2 cups): Forms the sturdy base of the cookie dough for perfect structure.
- Unsweetened cocoa powder (1/3 cup): Adds rich chocolate depth – Dutch-process or natural works well.
- Baking powder (1/2 teaspoon): Gives the cookies a gentle lift and light crumb.
- Fine salt (1/2 teaspoon): Balances sweetness and enhances chocolate flavor.
- Almond extract (1/2 teaspoon, optional): Adds an authentic Black Forest-inspired note that’s absolutely irresistible.
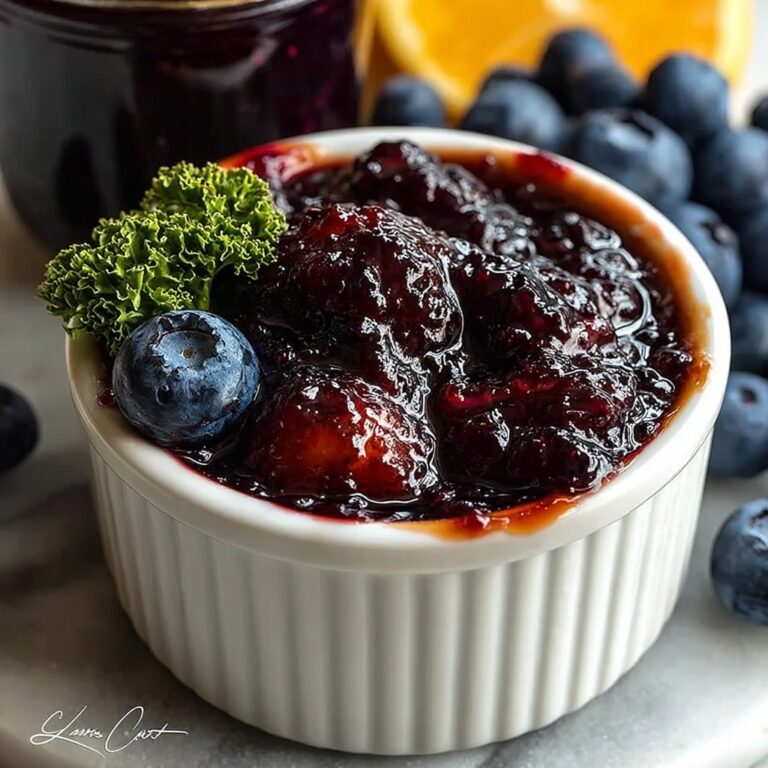
- Cherry preserves or jam (3/4 cup): Choose seedless for smooth filling; this fruity goodness is the star in every thumbprint.
- Semi-sweet chocolate (3 ounces, chopped or chips): Melts into a glossy drizzle that finishes the cookies with flair.
- Neutral oil (1 teaspoon): Adds shine and smoothness to the chocolate drizzle.
How to Make Easy Black Forest Thumbprint Cookies – Chocolate, Cherry, and Simple to Make Recipe
Step 1: Preheat and Prepare
First things first, get your oven set to 350°F (175°C). Line two baking sheets with parchment paper to make both baking and cleanup a breeze. This prep step ensures your cookies bake evenly without sticking.
Step 2: Cream Butter and Sugar
In a large bowl, beat together your softened butter and granulated sugar for about 2 to 3 minutes until the mixture turns light and creamy. This is where the magic of tender, fluffy cookies begins. Be patient here; it’s a crucial step.
Step 3: Add Egg and Extracts
Mix in the egg, vanilla extract, and if you’re feeling adventurous, almond extract. This addition brings that unmistakable Black Forest essence alive. Scrape the bowl to make sure everything is blended evenly.
Step 4: Whisk Dry Ingredients
In another bowl, whisk together the flour, cocoa powder, baking powder, and salt. This breaks up any lumps, especially in the cocoa, ensuring smooth dough and even chocolate flavor throughout.
Step 5: Combine Dough
Slowly add the dry ingredients to the butter mixture, mixing on low. The dough should come together softly but avoid overmixing to keep the cookies tender. If it feels a bit sticky, a quick chill in the fridge won’t hurt.
Step 6: Shape the Cookies
Scoop roughly 1 tablespoon of dough and roll it into smooth balls, then place them about 2 inches apart on your parchment-lined sheets. This spacing is key for even baking without overcrowding.
Step 7: Make the Thumbprints
Use your thumb or the back of a 1/2 teaspoon measuring spoon to gently press a shallow well in each dough ball. If the edges crack, simply nudge the dough back together to keep it looking neat.
Step 8: Fill with Cherry Preserves
Give your cherry preserves a good stir to loosen them up, then spoon about 1/2 teaspoon into each thumbprint well. Fill it to nearly the top but be careful not to overflow, so the jam stays put as it bakes.
Step 9: Bake to Perfection
Pop your cookies into the oven for 10 to 12 minutes. You’ll know they’re ready when the edges appear set and bottoms feel slightly firm, while the centers stay soft and gooey with cherry goodness.
Step 10: Cool Completely
Let the cookies rest on the baking sheet for 5 minutes, then transfer them to a wire rack to cool fully. Cooling completely is important before you add the chocolate drizzle for the best results.
Step 11: Melt the Chocolate
Microwave the chopped semi-sweet chocolate with a teaspoon of neutral oil in 20-second bursts, stirring in between until you have a smooth, glossy melt. The oil keeps the chocolate shiny and easier to drizzle.
Step 12: Drizzle and Set
Use a spoon or piping bag to drizzle the melted chocolate over your cooled thumbprint cookies. Let the drizzle set at room temperature or pop them in the fridge for 10 minutes to speed up the process. Voila! Your gorgeous, delicious cookies are ready to enjoy.
How to Serve Easy Black Forest Thumbprint Cookies – Chocolate, Cherry, and Simple to Make Recipe
Garnishes
For an extra festive touch, sprinkle finely chopped toasted almonds or coconut flakes around the cherry preserves before baking. A light dusting of powdered sugar right before serving also adds that classic bakery feel with minimal effort.
Side Dishes
These cookies pair beautifully with a cup of rich coffee, hearty black tea, or even a glass of cold milk to complement the chocolate and cherry flavors. For a dessert plate, serve alongside fresh berries or whipped cream for a full Black Forest-inspired experience.
Creative Ways to Present
Place cookies on a pretty platter lined with a doily or use small paper cupcake liners for an elegant touch. If gifting, stack them in a decorative tin tied with a red ribbon to highlight the cherry component and make an irresistible homemade gift.
Make Ahead and Storage
Storing Leftovers
Keep any leftover Easy Black Forest Thumbprint Cookies in an airtight container at room temperature for up to 5 days. The cookies remain soft and the cherry filling stays perfectly juicy—a delightful treat anytime.
Freezing
Want to prepare ahead? Freeze unbaked dough balls on a baking sheet, then transfer to a sealed bag once solid. You can bake them straight from frozen, just add an extra minute or two baking time. Alternatively, freeze fully baked and cooled cookies in a sealed container for up to 3 months.
Reheating
If you prefer your cookies a little warm, pop them in a preheated oven at 300°F (150°C) for about 5 minutes. This brings back that freshly baked softness and slightly melts the cherry filling for maximum enjoyment.
FAQs
Can I use homemade cherry jam instead of store-bought preserves?
Absolutely! Homemade cherry jam adds a personal touch and can be tailored to your sweetness preference. Just make sure it’s thick enough to hold shape in the thumbprints during baking.
Is the almond extract necessary in the recipe?
While optional, almond extract really enhances the Black Forest flavor profile. If you don’t have it, you can skip it or add a few drops of cherry extract for a slightly different but delicious twist.
Can I substitute semi-sweet chocolate for dark chocolate?
Yes, using dark chocolate will give a more intense, bittersweet finish. Just choose one you love to eat on its own to keep the balance right in your cookies.
What if my dough cracks when I make the thumbprints?
Don’t worry! Just gently pinch the edges back together with your fingers. If the dough feels too dry, try chilling it briefly before shaping to make it more pliable.
Are these cookies suitable for freezing after baking?
Definitely. Once completely cooled, store cookies in a freezer-safe container separated by parchment paper and freeze. Thaw at room temperature when ready to enjoy—fresh as the day you baked them.
Final Thoughts
There’s something truly comforting about baking a batch of these Easy Black Forest Thumbprint Cookies – Chocolate, Cherry, and Simple to Make Recipe. From the rich chocolate to the fruity cherry center and the ease of making them, they’re a delicious way to add a little homemade joy to your day. Give this recipe a try, and I promise your cookie jar will never feel lonely again!
Print
Easy Black Forest Thumbprint Cookies – Chocolate, Cherry, and Simple to Make Recipe
- Prep Time: 20 minutes
- Cook Time: 12 minutes
- Total Time: 52 minutes
- Yield: 24 cookies
- Category: Dessert
- Method: Baking
- Cuisine: American
- Diet: Vegetarian
Description
Delight in these Easy Black Forest Thumbprint Cookies, combining rich chocolate dough with sweet cherry preserves and a glossy chocolate drizzle. Simple to make and perfect for any occasion, these cookies offer a tender, soft center with a burst of fruity flavor, echoing the classic Black Forest cake in cookie form.
Ingredients
Cookie Dough
- 1 cup (2 sticks) unsalted butter, softened
- 3/4 cup granulated sugar
- 1 large egg, room temperature
- 2 teaspoons pure vanilla extract
- 2 cups all-purpose flour
- 1/3 cup unsweetened cocoa powder (Dutch-process or natural)
- 1/2 teaspoon baking powder
- 1/2 teaspoon fine salt
- 1/2 teaspoon almond extract (optional but adds Black Forest aroma)
Filling and Topping
- 3/4 cup cherry preserves or cherry jam (seedless if possible)
- 3 ounces semi-sweet chocolate, chopped (or chocolate chips)
- 1 teaspoon neutral oil (canola or coconut) for drizzling
Instructions
- Preheat and Prep: Heat the oven to 350°F (175°C). Line two baking sheets with parchment paper to ensure easy cleanup and prevent sticking.
- Cream the Butter and Sugar: In a large bowl, beat the softened butter and sugar together for 2–3 minutes until the mixture is light and creamy, resulting in tender, slightly fluffy cookies.
- Add Egg and Extracts: Mix in the egg, vanilla, and almond extract (if using) until fully combined. Scrape down the sides of the bowl to ensure an even blend.
- Whisk Dry Ingredients: In a separate bowl, whisk together the flour, cocoa powder, baking powder, and salt to break up any lumps in the cocoa powder.
- Combine the Dough: Gradually add the dry ingredients to the butter mixture and mix on low speed just until the dough forms. It should be soft but not sticky.
- Shape the Cookies: Scoop about 1 tablespoon of dough at a time and roll into smooth balls. Place them about 2 inches apart on the prepared baking sheets.
- Make the Thumbprints: Use your thumb or the back of a 1/2-teaspoon measuring spoon to press a shallow well into the center of each cookie ball. If edges crack, gently press them back together.
- Fill with Cherry Preserves: Stir the cherry preserves to loosen. Spoon about 1/2 teaspoon into each thumbprint well, filling nearly to the top without overflowing.
- Bake: Bake the cookies for 10–12 minutes until edges appear set and bottoms are slightly firm, while centers remain soft.
- Cool Completely: Allow the cookies to cool on the baking sheet for 5 minutes before transferring to a wire rack to cool entirely before adding the chocolate drizzle.
- Melt the Chocolate: Microwave the chopped chocolate and neutral oil in 20-second intervals, stirring in between, until the mixture is smooth and glossy.
- Drizzle and Set: Use a spoon or piping bag to drizzle the melted chocolate over the cooled cookies. Let them set at room temperature or chill for 10 minutes to speed the process.
Notes
- For best results, use softened butter to ensure creamy mixing.
- The almond extract is optional but enhances the Black Forest flavor profile.
- Make sure not to overfill the thumbprints to prevent spilling during baking.
- Use seedless cherry preserves for easy filling without seeds.
- Allow cookies to cool completely before drizzling chocolate to avoid melting the drizzle.
- The chocolate drizzle can be customized with dark or milk chocolate depending on preference.


