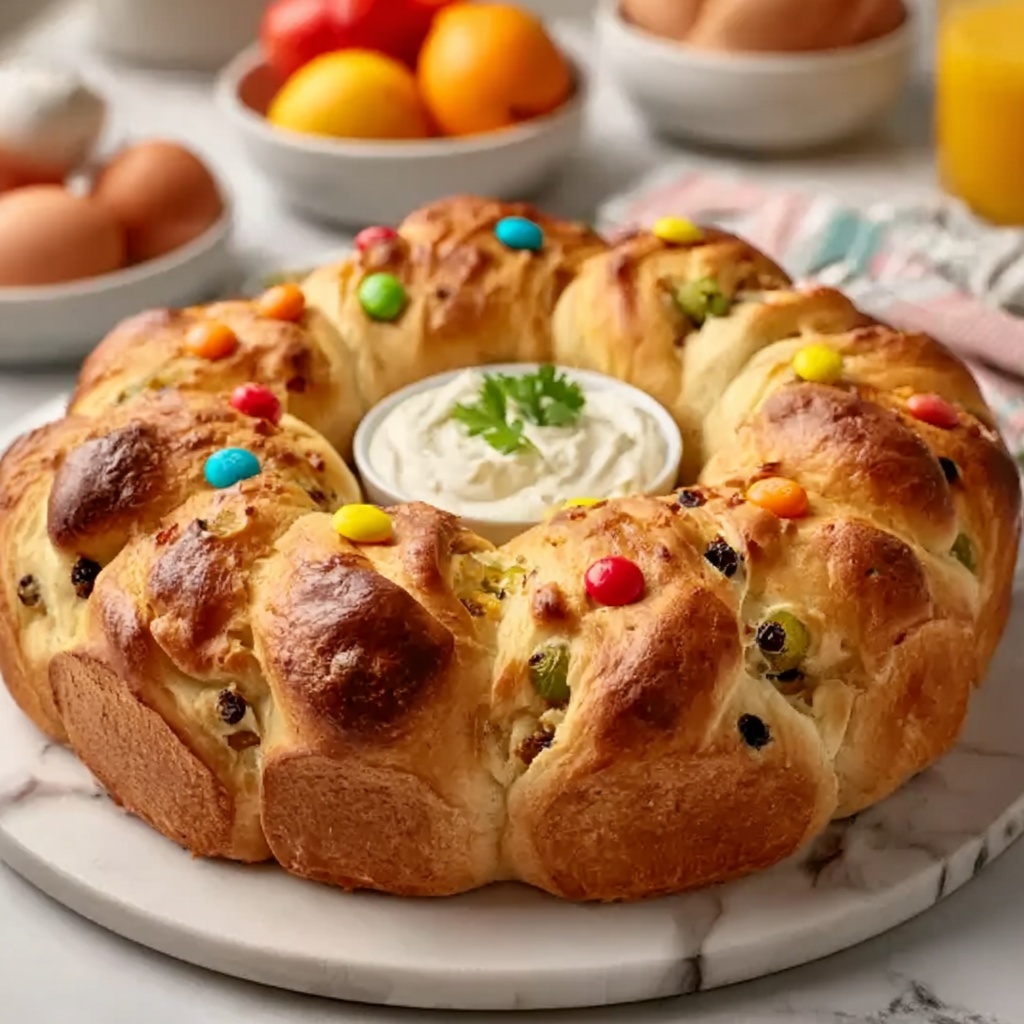
If you’re looking to bring a little extra charm and joy to your Easter celebration, this Easter Bunny Bread Recipe is an absolute delight that you simply have to try. Crafted from simple pantry staples, it transforms everyday bread dough into an adorable bunny shape that’s sure to steal the spotlight on your holiday table. Soft, fluffy, and beautifully golden, this bread not only tastes fantastic but also doubles as a festive centerpiece that will have everyone talking — especially the kids!

Ingredients You’ll Need
Every ingredient in this Easter Bunny Bread Recipe is thoughtfully chosen to create the perfect balance of flavor, texture, and appearance. Nothing complicated here, but each component plays a crucial role in crafting that soft, fluffy bread with a golden crust and a slight buttery richness.
- 4 cups all-purpose flour: The foundation of the dough, providing structure and chewiness.
- 2 ¼ tsp active dry yeast: Essential for getting the dough to rise and become light and airy.
- ¼ cup sugar: Adds just the right touch of sweetness to complement the bread’s buttery flavor.
- 1 tsp salt: Balances the sweetness and enhances all other flavors.
- 1 cup warm milk (110°F/43°C): Activates the yeast and contributes to the bread’s tender crumb.
- ½ cup unsalted butter, melted: Brings richness and a delicate, moist texture to the dough.
- 2 large eggs: Help bind the dough while enriching flavor and color.
How to Make Easter Bunny Bread Recipe
Step 1: Activate the Yeast
Begin by mixing the warm milk, sugar, and active dry yeast in a bowl. Let this mixture sit for about 5 minutes; you’ll know it’s ready when it becomes bubbly and frothy. This step is key as it wakes up your yeast, ensuring your bread will rise beautifully and develop that perfect airy texture.
Step 2: Combine Dry Ingredients
While your yeast mixture is activating, whisk together the flour and salt in a separate large bowl. These dry ingredients provide the structure your bread needs, so mixing them well here ensures an even texture throughout the dough.
Step 3: Form the Dough
Gradually add the yeast mixture to the flour and salt, along with the melted butter and eggs. Stir until the dough starts to come together into a shaggy mass. This is when the magic begins as you see separate ingredients become a unified, elastic dough.
Step 4: Knead the Dough
Turn your dough onto a floured surface and knead it for 8 to 10 minutes. This hands-on step develops gluten, making your bread chewy and elastic, which is exactly what you want for a soft, tender crumb. The dough should end up smooth and slightly springy to the touch.
Step 5: First Rise
Place the dough in a greased bowl and cover it with a damp cloth to keep it warm and moist as it rises. Let it sit in a warm spot for 1 to 2 hours, or until it has doubled in size. Patience here pays off with fluffier bread that pulls apart easily.
Step 6: Shape the Bunny
Once risen, punch down the dough gently to remove excess air. Shape one large piece into an oval for the bunny’s body, and use smaller pieces to form ears and feet. This part is where your creativity shines — don’t worry if it’s not perfect, the rustic handmade look just adds charm.
Step 7: Bake to Golden Perfection
Preheat your oven to 350°F (175°C) and place your shaped bunny on a lined baking sheet. Bake for 25 to 30 minutes until the bread is a gorgeous golden brown. The aroma alone will have you eager to take this bunny out of the oven and onto your Easter table!
How to Serve Easter Bunny Bread Recipe
Garnishes
Adding just a few simple garnishes can elevate this Easter Bunny Bread into an eye-catching treat. Consider brushing it with a bit of melted butter right out of the oven for extra shine and softness. You can also use edible eyes made from raisins or chocolate chips to give your bunny a cute personality that kids will adore.
Side Dishes
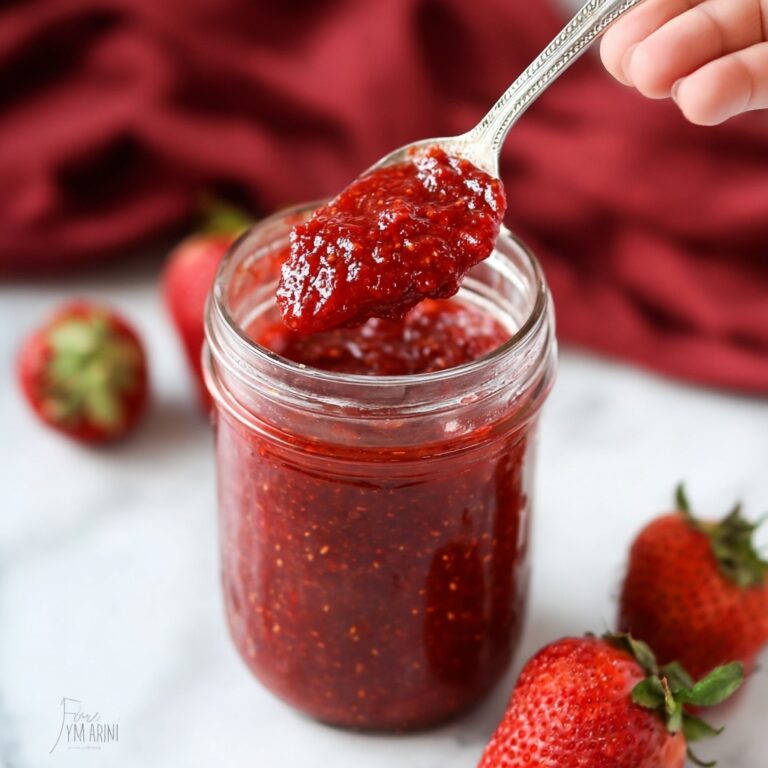
This bread is delightfully versatile and pairs beautifully with both sweet and savory accompaniments. Serve it alongside a vibrant fruit salad for a refreshing contrast or a bowl of creamy soup for a comforting meal. It also works wonderfully with flavored butters, fruit preserves, or honey for dipping.
Creative Ways to Present
Want to really wow your friends and family? Place your Easter Bunny Bread on a rustic wooden board surrounded by pastel-colored eggs, fresh spring flowers, or even sprinkle some powdered sugar “snow” around it for a whimsical touch. Wrapping it in a colorful kitchen towel until serving adds a cozy vibe perfect for spring gatherings.
Make Ahead and Storage
Storing Leftovers
After your Easter Bunny Bread has made its debut, you’ll want to keep any leftovers fresh. Store the bread in an airtight container or wrapped tightly in plastic wrap at room temperature. It will stay soft and delicious for 3 to 4 days, giving you plenty of chances to enjoy it beyond just one meal.
Freezing
If you want to keep your bunny bread longer, freezing is a great option. Wrap it carefully in plastic wrap and then in foil or place in a freezer-safe bag. It will stay good for up to 1 month. When you’re ready to eat, thaw it overnight in the fridge and then warm it gently before serving.
Reheating
To bring your Easter Bunny Bread back to life, reheat it in a preheated oven at 325°F (160°C) for 10 to 15 minutes. This helps restore that freshly-baked texture and aroma. Avoid microwaving to prevent the bread from becoming soggy or rubbery.
FAQs
Can I use whole wheat flour instead of all-purpose flour?
Absolutely! You can substitute whole wheat flour, but keep in mind the texture might be a bit denser and the flavor slightly nuttier. You may want to mix half whole wheat with half all-purpose flour to maintain softness and rise.
How do I prevent the bunny ears from burning before the rest of the bread is done?
If you notice the ears getting too brown too quickly, you can gently cover them with small pieces of foil halfway through baking. This shields them from direct heat and prevents over-browning while the rest of the bread finishes baking.
Is it possible to make this bread in a stand mixer?
Yes, using a stand mixer with a dough hook attachment can save you some effort kneading by hand. Mix and knead with the mixer on medium speed for about 6-8 minutes until the dough is smooth and elastic.
Can I add decorations to the bunny bread?
Definitely! You can use seeds, nuts, or dried fruit to add eyes, a nose, or texture to your bunny. Colored dough pieces can also be used for a fun twist. Just be creative and have fun with it!
What should I serve with this bread for a full Easter brunch?
This Easter Bunny Bread pairs wonderfully with scrambled eggs, bacon, fresh fruit, and a light salad. Add some jams or flavored butters for a complete and festive spread that will impress your guests.
Final Thoughts
This Easter Bunny Bread Recipe is one of those magical creations that brings warmth, joy, and a bit of whimsy to any spring celebration. It’s simple enough to make with your kids, fun to shape, and rewarding to eat. So why not bake a bunny this Easter? I promise, it’s just as delicious as it is adorable, and it might just become your new holiday tradition.
Print
Easter Bunny Bread Recipe
- Prep Time: 15 minutes
- Cook Time: 30 minutes
- Total Time: 50 minutes active + 1-2 hours rising time
- Yield: 12 servings
- Category: Bread
- Method: Baking
- Cuisine: American
Description
This charming Easter Bunny Bread recipe creates a soft, fluffy, golden-brown bread shaped like a bunny, perfect for festive celebrations. Made with simple ingredients and a classic yeast bread technique, it combines a tender crumb with a slightly sweet flavor, ideal for sharing with family and friends during springtime festivities.
Ingredients
Dry Ingredients
- 4 cups all-purpose flour
- 2 ¼ tsp active dry yeast
- ¼ cup sugar
- 1 tsp salt
Wet Ingredients
- 1 cup warm milk (110°F/43°C)
- ½ cup unsalted butter, melted
- 2 large eggs
Instructions
- Activate Yeast: In a bowl, combine the warm milk with sugar and active dry yeast. Let this mixture sit for 5 minutes until it becomes bubbly, which indicates that the yeast is active and ready for baking.
- Mix Dry Ingredients: In a separate bowl, whisk together the all-purpose flour and salt to ensure even distribution.
- Combine Ingredients: Gradually add the flour and salt mixture to the yeast mixture, followed by the melted butter and eggs. Stir until a shaggy dough forms.
- Knead Dough: Transfer the dough to a floured surface and knead it for 8-10 minutes until it becomes smooth and elastic, which develops the gluten for a good bread structure.
- First Rise: Place the kneaded dough into a greased bowl, cover it with a damp cloth, and allow it to rise in a warm area for 1 to 2 hours until it doubles in size.
- Shape Dough: Punch down the risen dough to release air. Shape a large piece into an oval for the bunny’s body and smaller pieces into ears and feet, assembling them together on a lined baking sheet.
- Preheat Oven: Heat your oven to 350°F (175°C) in preparation for baking.
- Bake Bread: Place the shaped bunny bread in the oven and bake for 25-30 minutes, or until the bread is golden brown and cooked through.
Notes
- Make sure the milk is warm but not hot to avoid killing the yeast.
- Kneading is essential for developing gluten, which is critical for good texture; do not skip it.
- Let the dough rise in a draft-free warm spot to help yeast activity.
- You can brush the bunny with an egg wash before baking for a shinier crust.
- Allow the bread to cool on a wire rack before cutting to preserve its shape and texture.


