“`html
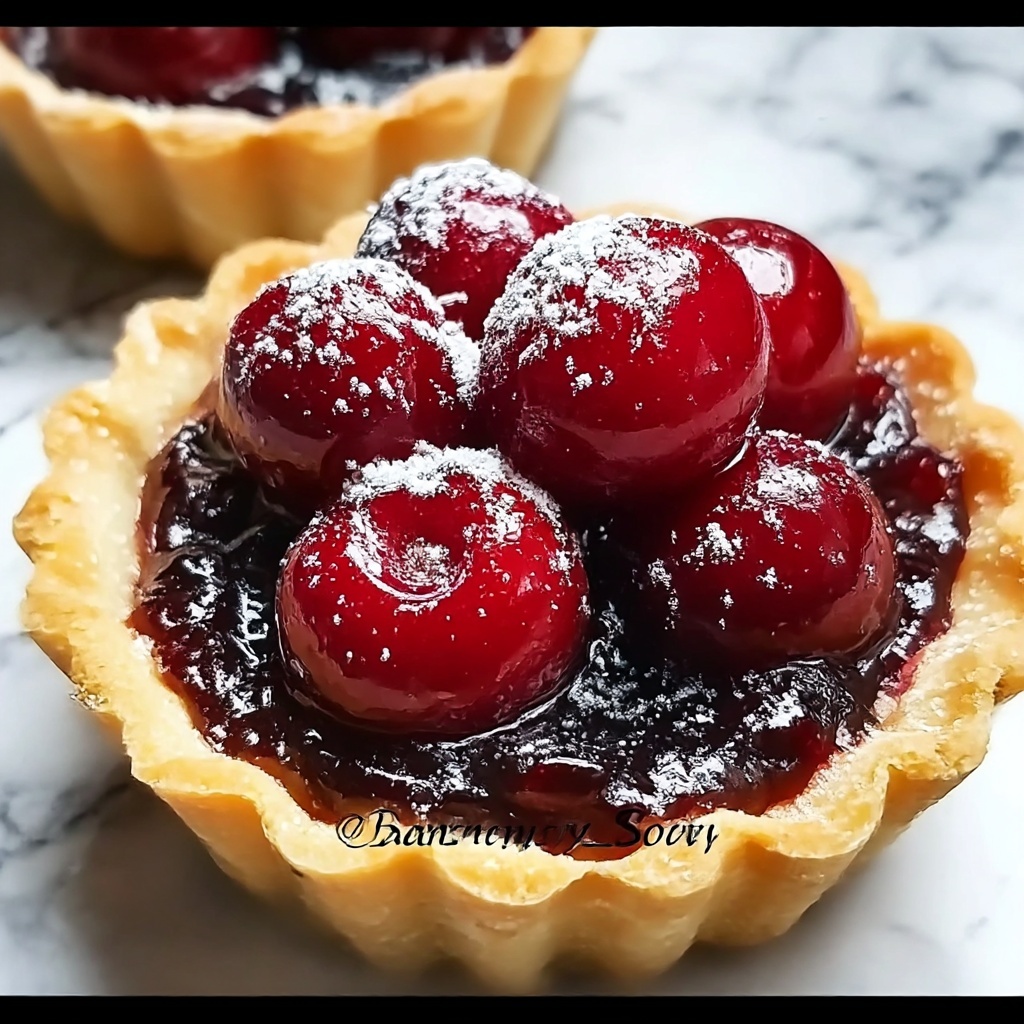
If you’ve ever dreamed of a dessert that brings together the perfect balance of flaky crust, juicy cherry filling, and irresistible charm, then you’ve just hit gold with the Deliciously Easy Mini Cherry Pies for Sweet Moments Recipe. These bite-sized wonders are so much fun to make and even better to share, packing all the cozy sweetness of classic cherry pie into individual little parcels. Whether it’s a casual get-together, a cozy night in, or just a treat for yourself, these mini pies turn any moment into a special occasion.
Ingredients You’ll Need
This recipe keeps things wonderfully simple by leaning on a few essential ingredients that pack big flavor and texture. Each component plays a starring role in making these mini cherry pies delightfully tender, sweet, and golden.
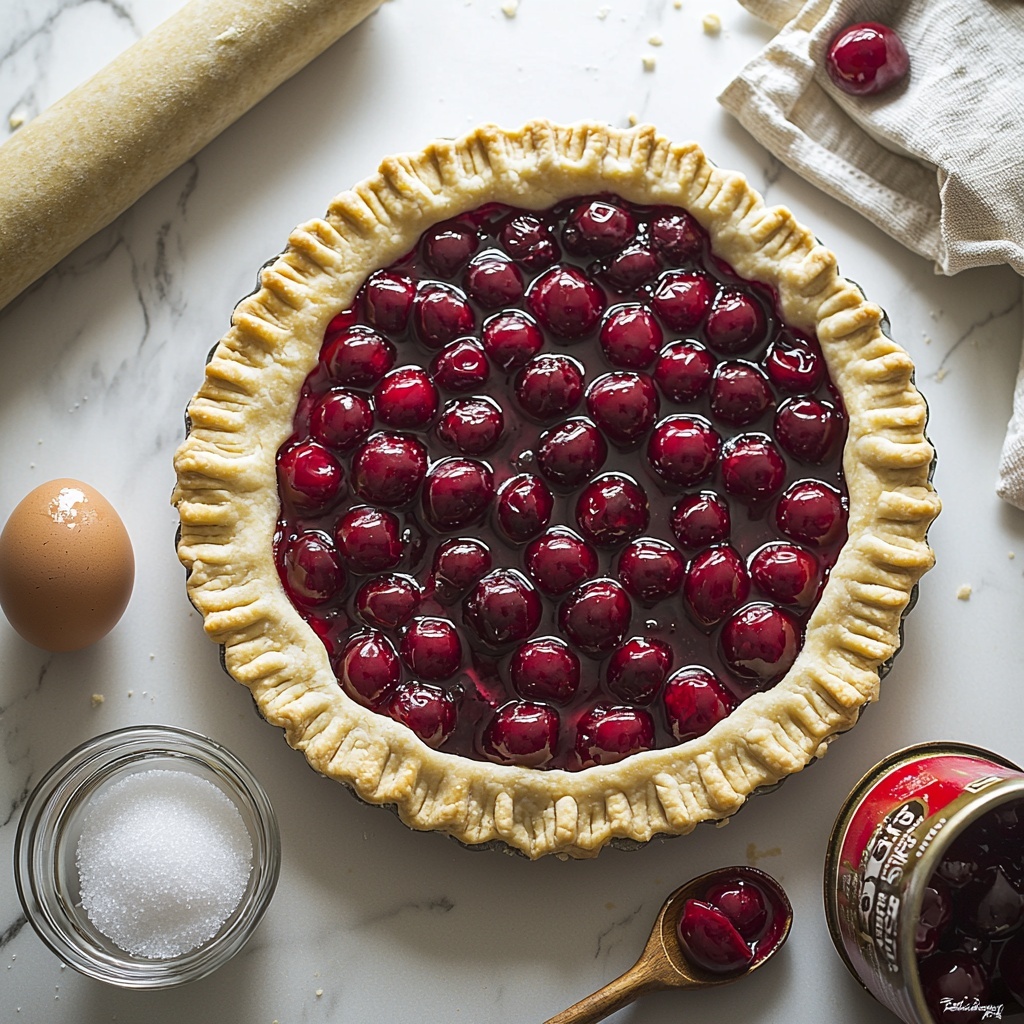
- Store-Bought Pie Crust: Using a ready-made crust keeps things easy without skimping on buttery, flaky texture—feel free to make your own if you prefer a personal touch.
- Large Egg White: Brushed on top to give the crust a beautiful sheen and help the sugar stick for that perfect sparkle.
- Cherry Pie Filling: The heart of these pies, opt for a quality store-bought filling or homemade for the freshest cherry flavor and luscious texture.
- Sugar: Sprinkled on top for an extra sweet crunch that contrasts perfectly with the tender crust and juicy filling.
How to Make Deliciously Easy Mini Cherry Pies for Sweet Moments Recipe
Step 1: Prepare Your Baking Tools and Crust
Start by preheating your oven to 350°F (175°C) and giving your muffin tin a light grease to prevent sticking. Roll out the store-bought pie crust on a clean surface and grab a round cutter between 3 ½ to 4 inches in diameter.
Step 2: Form the Mini Pie Shells
Cut out crust circles and gently press them into each muffin cup. This forms the adorable mini pie ‘bowls’ that will hold all that luscious cherry filling, giving each pie perfect edges and a flaky base.
Step 3: Fill the Mini Pies
Carefully spoon the cherry pie filling into each crust shell, filling them about two-thirds full. This ensures a juicy center without overflow, maintaining the pies’ neat shape during baking.
Step 4: Add a Beautiful Top Layer
If you want to make your pies look extra special, roll the leftover dough, cut it into thin strips, and weave a lattice pattern over each mini pie. This classic touch ups the elegance and lets some of the cherry filling peek through.
Step 5: Egg Wash and Sugar Sprinkle
Brush the tops of the pies with the beaten egg white, which will give the crust that irresistible golden glow as it bakes. Then, sprinkle sugar over the top for a little sparkling sweetness and crunch.
Step 6: Bake to Perfection
Bake your mini pies for 25 to 30 minutes, until the crust turns beautifully golden brown and the cherry filling bubbles with juicy goodness. This slow transformation is what makes these mini pies so incredibly inviting.
Step 7: Cooling and Serving Prep
Once baked, allow the mini cherry pies to cool in the tin for 15 to 20 minutes. This rest time lets the filling set up so your mini pies hold their shape and glide out gently when it’s time to serve.
How to Serve Deliciously Easy Mini Cherry Pies for Sweet Moments Recipe
Garnishes
Bring your mini cherry pies to the next level by adding a dollop of freshly whipped cream or a scoop of vanilla ice cream right on the side. A sprinkle of powdered sugar or a few fresh cherries on top can also add vibrant bursts of flavor and a gorgeous finish.
Side Dishes
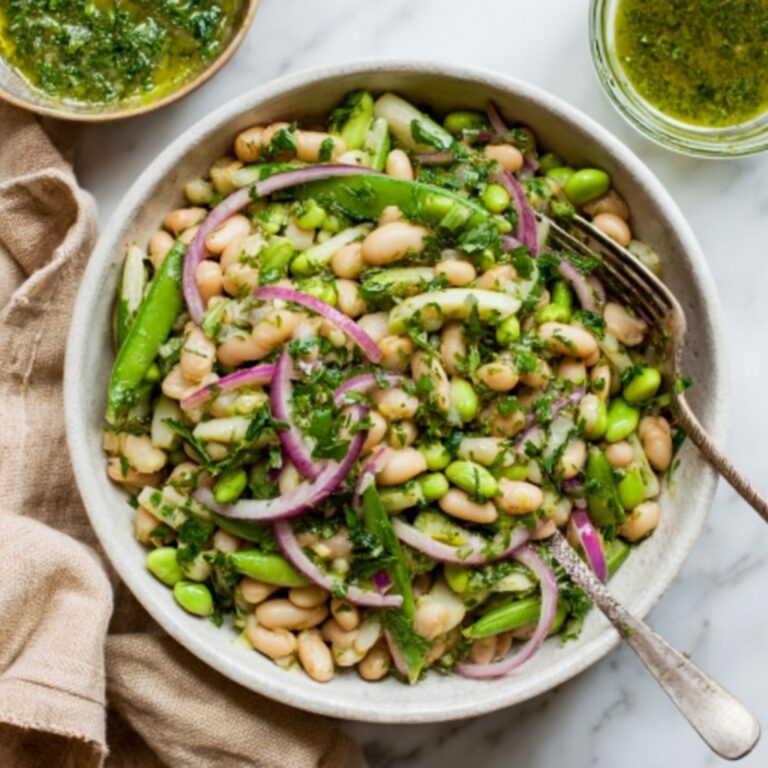
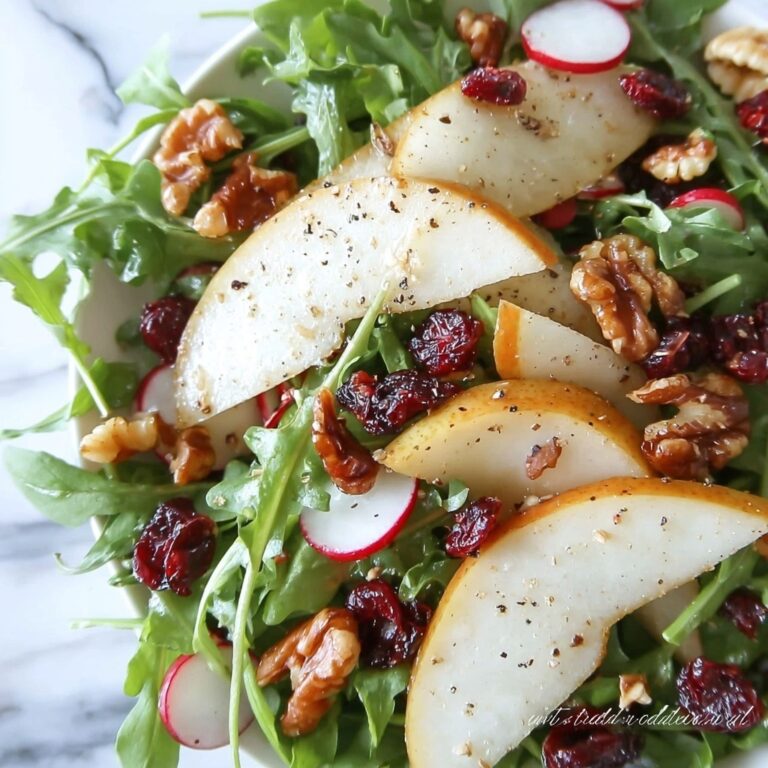
These mini pies pair wonderfully with cupfuls of warm tea or a fresh green salad for a light end to a meal. For a brunch setting, consider serving alongside fluffy scrambled eggs or crispy bacon to balance sweet and savory perfectly.
Creative Ways to Present
Serving these mini cherry pies on tiered cake stands makes a charming centerpiece for any gathering. You can also wrap each pie in a colorful napkin or place them in small treat bags to give as edible gifts that will delight any recipient.
Make Ahead and Storage
Storing Leftovers
Place any leftover mini cherry pies in an airtight container and store them in the refrigerator for 3-4 days. This short refrigeration period maintains the crust’s flakiness and keeps the cherry filling fresh.
Freezing
To enjoy these lovely pies later, freeze fully cooled mini pies in a single layer on a baking sheet before transferring them to a freezer-safe bag or container. They can be frozen for up to 1 month without losing their delightful taste and texture.
Reheating
Reheat refrigerated or frozen pies in a preheated oven at 325°F for 10-15 minutes, or until warmed through. This gently revives that flaky crust and warms the filling to juicy perfection without making the crust soggy.
FAQs
Can I use fresh cherries instead of canned cherry pie filling?
Absolutely! Using fresh cherries adds a wonderful natural sweetness and texture, but you’ll want to cook them down with sugar and a thickener like cornstarch to mimic the filling’s consistency before adding to the pie shells.
Is it necessary to use egg white on top of the pies?
The egg white wash isn’t mandatory but it does give the crust a beautiful golden color and helps the sugar stick for a slight crunch. If you prefer, you can brush with milk or skip this step entirely.
Can I make these mini cherry pies gluten-free?
Yes, you can substitute the store-bought pie crust for a gluten-free pie crust. Just be mindful that gluten-free dough may handle differently, so gently press it into the muffin tin to avoid cracking.
How can I prevent the crust from getting soggy?
Ensure the muffin tin is greased well and try not to overfill the pies. Also, letting the pies cool completely before removing them will help the crust stay crisp and hold together better.
What other fillings can I use for mini pies?
These mini crusts are super versatile! Try apple, blueberry, or peach fillings—either homemade or store-bought—to enjoy different flavors while keeping the ease of the recipe.
Final Thoughts
There’s something truly heartwarming about biting into a mini pie that’s loaded with sweet cherries and wrapped in a flaky, golden crust. The Deliciously Easy Mini Cherry Pies for Sweet Moments Recipe is your go-to for celebrating everyday joys or special occasions with a treat everyone will adore. Give these charming pies a try—you’ll be amazed at how simple it is to create something so deliciously memorable!
“`
Print
Deliciously Easy Mini Cherry Pies for Sweet Moments Recipe
- Prep Time: 20 minutes
- Cook Time: 30 minutes
- Total Time: 1 hour 5 minutes
- Yield: 12 mini pies
- Category: Dessert
- Method: Baking
- Cuisine: American
- Diet: Vegetarian
Description
Enjoy these deliciously easy mini cherry pies, perfect for sweet moments and gatherings. Made with store-bought pie crust and luscious cherry pie filling, these bite-sized treats are simple to prepare and bake to golden perfection with a crisp lattice topping or classic full crust.
Ingredients
Pie Crust
- 1 package Store-Bought Pie Crust (or homemade pie crust)
Filling
- 1 can Cherry Pie Filling (high-quality store-bought or homemade)
Toppings
- 1 large Egg White (for brushing tops)
- 2 tablespoons Sugar (for sprinkling on top)
Instructions
- Preheat and prepare muffin tin: Preheat your oven to 350°F (175°C) and grease a muffin tin thoroughly to prevent sticking.
- Cut pie crust circles: Roll out the store-bought pie crust on a clean surface and use a round cutter measuring about 3 ½ to 4 inches in diameter to cut out circles large enough to fit into muffin cups.
- Form mini crusts: Gently press each dough circle into the greased muffin cups, shaping them to create mini pie crusts.
- Add cherry filling: Spoon cherry pie filling into each crust, filling to approximately two-thirds full to avoid overflow during baking.
- Create lattice topping (optional): If desired, roll out leftover dough, cut it into thin strips, and weave a lattice pattern over the top of each pie.
- Brush with egg white and sprinkle sugar: Beat the egg white lightly and brush it over the tops of the pies, then sprinkle sugar evenly to add sweetness and a beautiful finish.
- Bake the pies: Place the muffin tin in the preheated oven and bake for 25–30 minutes until the crust turns golden brown and the filling becomes bubbly.
- Cool and serve: Allow the pies to cool for 15–20 minutes so they can set, then gently lift them out of the muffin tin to serve.
Notes
- You can substitute the store-bought pie crust with your favorite homemade dough for a personalized touch.
- The lattice topping is optional but adds a lovely decorative element and texture contrast.
- Cooling the pies before removing helps prevent the filling from spilling and the crust from breaking.
- These mini pies are perfect for parties, picnics, or any sweet craving.
- Leftover pies can be stored in an airtight container at room temperature for up to 2 days or refrigerated for up to 4 days.


