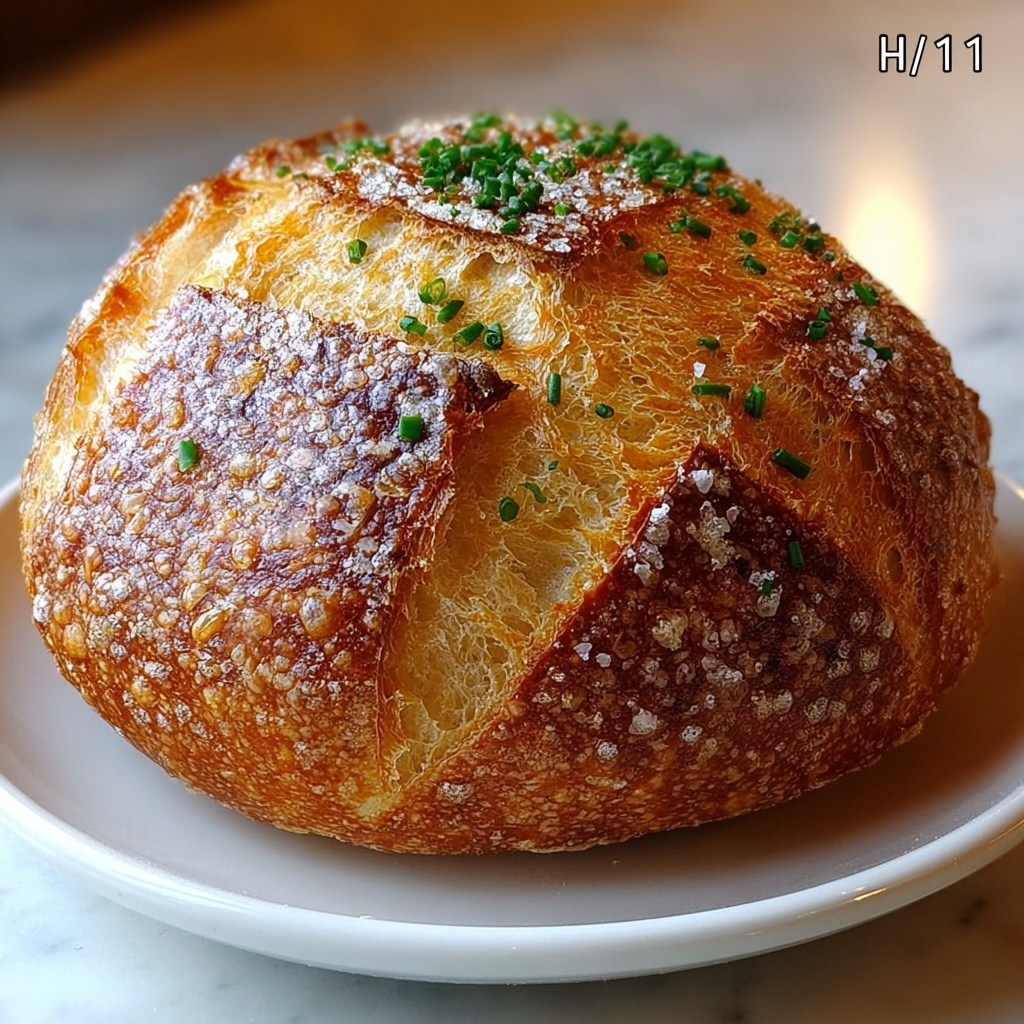
If you have ever dreamed of pulling a warm, golden loaf with a perfectly crackling crust straight from your own oven, this Crusty Italian Bread Recipe is exactly what you need. It’s a simple yet magical journey that transforms basic pantry staples into a loaf bursting with rustic charm, that heavenly crunch, and a soft, airy crumb inside. Whether you are a seasoned baker or a kitchen beginner, this recipe will guide you to create authentic Italian bread that’s full of flavor and just the right texture to make every bite memorable.
Ingredients You’ll Need
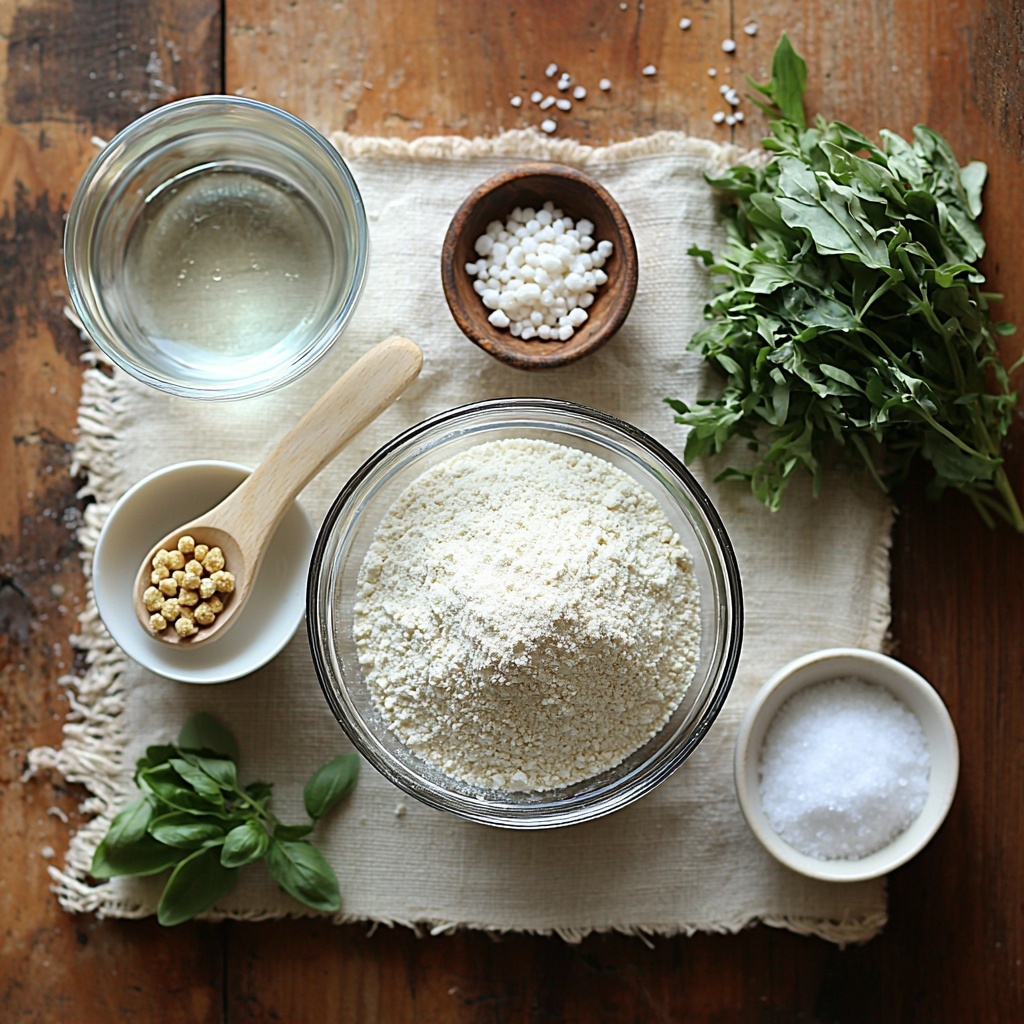
Gathering the right ingredients is the first step toward achieving that amazing crust and tender crumb in your Crusty Italian Bread Recipe. Each component plays a vital role, from helping the bread rise beautifully to adding subtle flavor and that characteristic golden crust coloration.
- 1 1/2 cups warm water (100°F-110°F): Perfect temperature to activate the yeast without killing it.
- 2 1/4 teaspoons instant yeast: The magic agent that makes the dough rise and become airy.
- 1/2 teaspoon sugar: A touch of sweetness to feed the yeast and promote fermentation.
- 3 3/4 cups all-purpose flour: The backbone of the bread, providing structure and chew.
- 1 1/2 teaspoons salt: Enhances flavor and controls yeast activity for balanced taste.
- 1 tablespoon chopped fresh herbs (optional): Adds an aromatic twist if you want to experiment with savory notes.
- 1 tablespoon cornmeal or flour (for dusting): Helps prevent sticking and adds a subtle texture to the base.
How to Make Crusty Italian Bread Recipe
Step 1: Combine Dry Ingredients and Activate Yeast
Start by whisking together your flour, salt, and sugar in a large bowl to evenly distribute them. Then, sprinkle the instant yeast over the dry mix. This ensures your yeast will integrate properly when the warm water is added, helping your dough rise to perfect fluffy heights.
Step 2: Add Warm Water and Form Dough
Slowly pour the warm water into your flour and yeast mixture. Stir it gently until a sticky dough forms. Don’t worry if it looks a little lumpy or shaggy—that’s exactly the right texture to build a fantastic loaf with a chewy crumb and crusty exterior.
Step 3: Let the Dough Rise
Cover your bowl with a clean towel and place it in a warm spot. Patience is key here: allow the dough to rise for about 2 hours, until it nearly doubles in size. This rise time lets the yeast work its magic, developing flavor and structure.
Step 4: Shape the Dough
Lightly flour your work surface to keep the dough from sticking. Gently tip the risen dough onto the surface and shape it into a smooth ball without deflating it too much. This shaping stage lays the groundwork for a uniform crumb and crust stretch.
Step 5: Second Rise in Proofing Basket
Place the dough seam-side down into a proofing basket or on parchment paper. Cover it again and let it rest for another 30 to 45 minutes. Meanwhile, preheat your oven to 450°F so it’s hot and ready to produce the perfect crust.
Step 6: Score the Dough and Prepare to Bake
Using a sharp knife or blade, make a few quick slashes on top of the dough. This scoring helps the bread control where it expands during baking, resulting in that classic rustic look and allowing steam to escape for a crisp surface.
Step 7: Bake in a Dutch Oven
Carefully transfer the dough to your preheated Dutch oven. Cover it to trap steam, which is crucial for developing a crunchy crust. Bake for 30 minutes covered, then remove the lid to let the crust brown deeply during the last 10 to 15 minutes.
Step 8: Cool and Enjoy
Once your loaf is beautifully golden and crackling, take it out and let it cool on a wire rack for at least an hour. Waiting is hard but important—it finishes the baking process and lets the crumb set beautifully before slicing.
How to Serve Crusty Italian Bread Recipe
Garnishes
While this bread shines on its own, it can be wonderfully elevated by a light brush of olive oil or rubbing a fresh garlic clove over the crust for extra aroma. Sprinkling a bit of coarse sea salt or more fresh herbs also adds a lovely finishing touch.
Side Dishes
Crusty Italian bread pairs beautifully with hearty soups like tomato basil or minestrone, fresh cheeses, or a rich pasta sauce. Its sturdy texture makes it perfect for dipping, soaking up all those luscious flavors.
Creative Ways to Present
Turn your Crusty Italian Bread Recipe into a feast centerpiece by hollowing out the loaf to create a bread bowl for soups or dips. You can also slice it thickly, grill or toast the pieces, then top with bruschetta ingredients for a stunning appetizer.
Make Ahead and Storage
Storing Leftovers
Keep your leftover bread fresh by wrapping it in a clean kitchen towel and storing it in a bread box or paper bag at room temperature for up to two days. Avoid plastic bags as they trap moisture and soften the crust.
Freezing
If you want to save your bread for longer, slice it and place the slices in a freezer bag, removing as much air as possible. Frozen bread retains its aroma and texture well for up to 3 months.
Reheating
To revive that irresistible crust, sprinkle a little water over the loaf or slices and warm them in an oven preheated to 350°F for 10-15 minutes. This simple trick crisps the outside and refreshes the interior.
FAQs
Can I use active dry yeast instead of instant yeast?
Yes, you can substitute active dry yeast by dissolving it in the warm water first and letting it sit for about 5 minutes until foamy before mixing with the dry ingredients. This helps activate the yeast properly.
What causes the crust to be extra crispy?
Using a covered Dutch oven traps steam during the early part of baking, which keeps the crust moist enough to expand and then crisp perfectly once uncovered. Also, baking at a high temperature helps create that beautiful golden crust.
Can I add other herbs or flavors to the bread dough?
Absolutely! Fresh rosemary, thyme, or even minced garlic can be kneaded in for extra flavor. Just be careful not to add anything too wet or overpowering to maintain a good dough structure.
How do I know when the bread is done baking?
The loaf should have a deep golden-brown crust and sound hollow when tapped at the bottom. An internal temperature of about 200°F if you use a kitchen thermometer also confirms it’s fully baked.
Is it okay if the dough is very sticky?
Yes, a slightly sticky dough is normal and helps produce a light and open crumb. Try to handle it gently with floured hands or a dough scraper rather than adding too much flour.
Final Thoughts
There is something incredibly satisfying about making your own crusty Italian bread at home, especially when it turns out perfectly golden, crunchy, and tender inside. This Crusty Italian Bread Recipe has a way of bringing warmth and joy to your kitchen, whether it accompanies a simple meal or stars in a beautiful spread. I can’t wait for you to try it and enjoy that fresh-baked magic!
Print
Crusty Italian Bread Recipe
- Prep Time: 10 minutes
- Cook Time: 45 minutes
- Total Time: 2 hours 55 minutes
- Yield: 1 loaf (approximately 1 pound bread)
- Category: Bread
- Method: Baking
- Cuisine: Italian
Description
This Crusty Italian Bread recipe produces a rustic, golden loaf with a perfectly crunchy crust and a soft, airy crumb. Made with simple ingredients like flour, yeast, water, and salt, it uses a Dutch oven to mimic traditional artisan baking techniques for bakery-quality results right at home.
Ingredients
Dry Ingredients
- 3 3/4 cups all-purpose flour
- 1 1/2 teaspoons salt
- 1/2 teaspoon sugar
- 2 1/4 teaspoons instant yeast
Wet Ingredients
- 1 1/2 cups warm water (100°F-110°F)
Additional
- 1 tablespoon chopped fresh herbs (optional)
- 1 tablespoon cornmeal or flour (for dusting)
Instructions
- Mix Dry Ingredients: In a large mixing bowl, combine the all-purpose flour, salt, and sugar. Sprinkle the instant yeast evenly over the mixture.
- Add Water and Form Dough: Pour the warm water into the dry ingredients and mix until a sticky dough forms. If using, add chopped fresh herbs for flavor during mixing.
- First Rise: Cover the bowl with a clean towel and let the dough rise in a warm spot for about 2 hours, or until it has doubled in size.
- Shape Dough: Lightly flour your work surface and gently turn the risen dough out onto it. Shape the dough into a tight ball by folding edges underneath.
- Second Rise: Place the dough seam-side down in a proofing basket or on parchment paper. Cover and let it rise for another 30 to 45 minutes while you preheat the oven to 450°F (230°C).
- Score and Prepare for Baking: Using a sharp knife or razor blade, score the top of the dough to allow steam to escape and to control how the bread expands during baking. Dust a Dutch oven with cornmeal or flour and transfer the dough into it.
- Bake Covered: Cover the Dutch oven and bake the bread in the preheated oven for 30 minutes. This traps steam and helps create a crispy crust.
- Bake Uncovered: Remove the lid and continue baking for an additional 10 to 15 minutes until the crust is deep golden brown and crisp.
- Cool: Carefully remove the bread from the Dutch oven and place it on a wire rack. Allow it to cool completely for at least one hour before slicing to finish setting the crumb structure.
Notes
- Ensure the water temperature is between 100°F and 110°F to activate the yeast properly without killing it.
- Using a Dutch oven helps create steam and simulates professional bread baking conditions, which is key for crust formation.
- Letting the bread cool completely before slicing prevents a gummy texture inside the loaf.
- You can add fresh herbs like rosemary or thyme to the dough for extra flavor.
- The proofing times may vary slightly depending on the ambient temperature and humidity.


