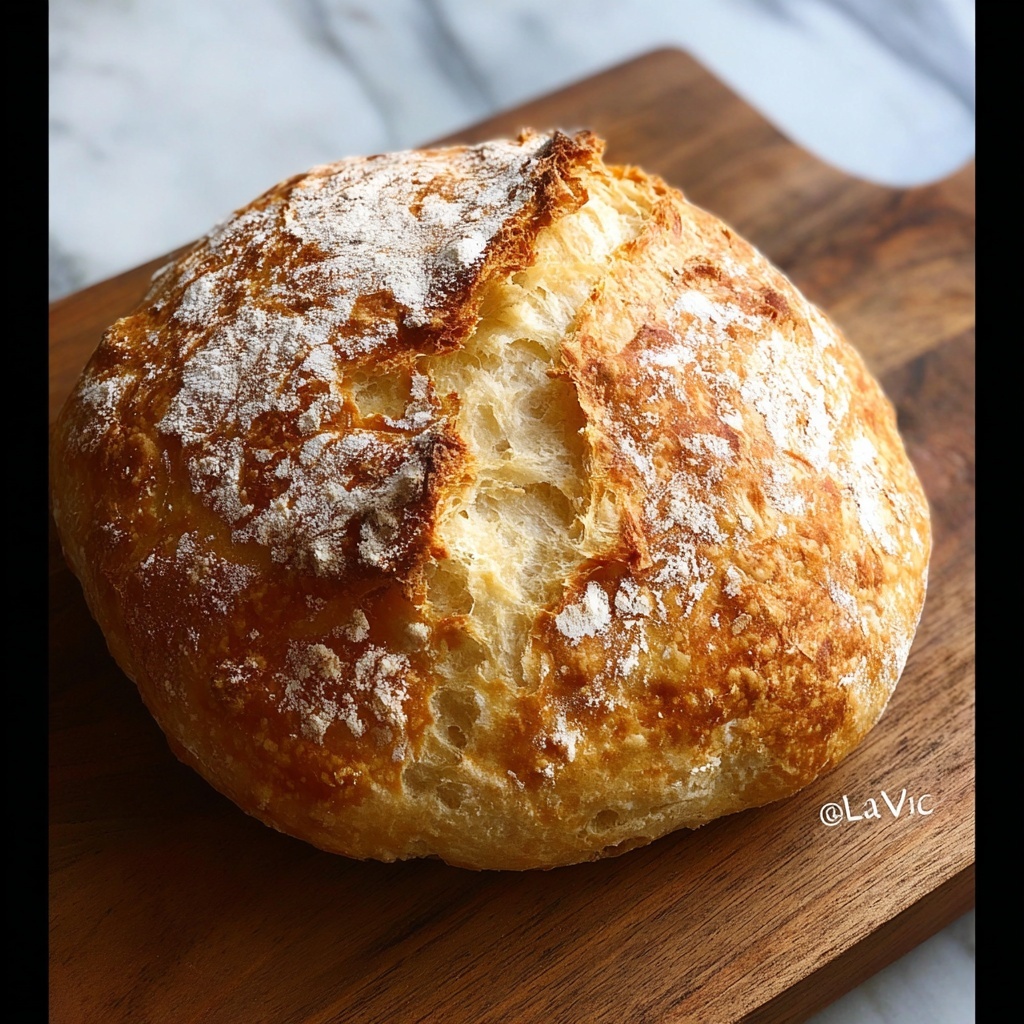
If you have ever dreamed of biting into a crusty, golden loaf of bread that tastes like it came straight from an artisan bakery, then you’re going to love this Easy No-Knead Artisan Bread Recipe. It’s a straightforward, hands-off method that requires almost no effort but rewards you with a loaf that’s perfectly crusty on the outside and tender and airy on the inside. Whether you’re a beginner or just short on time, this recipe fills your kitchen with the irresistible aroma of freshly baked bread and offers a delicious homemade touch to any meal.
Ingredients You’ll Need
These simple ingredients come together to create magic—each one essential for flavor, texture, and that signature artisan look. You probably already have them in your pantry!
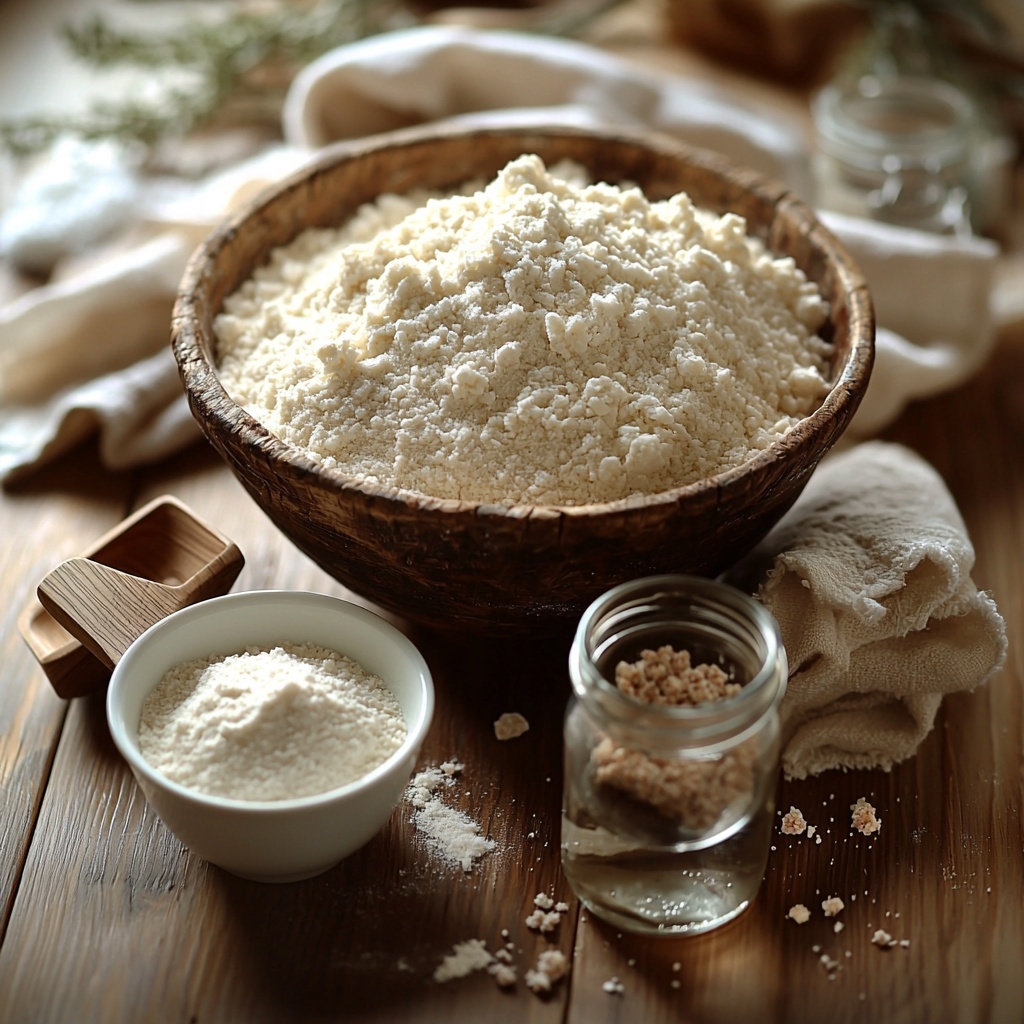
- 3 cups all-purpose flour: The backbone of your bread, providing structure and chewiness.
- 2 teaspoons kosher salt: Enhances flavor without overpowering, balancing the dough perfectly.
- ½ teaspoon instant yeast: Or active dry yeast; it effortlessly gets the dough rising with no kneading required.
- 1 ⅓ cups warm water (about 110 degrees F): Hydrates the flour and activates the yeast, creating that luscious sticky dough.
How to Make Easy No-Knead Artisan Bread Recipe
Step 1: Mix the Dough
Start by whisking together the all-purpose flour, kosher salt, and yeast in a large bowl. This simple dry mix sets the foundation for our dough. Pour in the warm water and stir everything with a sturdy spatula or wooden spoon until you get a sticky, shaggy dough that’s just begging to rise.
Step 2: Let It Rise
Cover your bowl and leave it at room temperature for 4 hours. This slow, natural rise develops deep flavor and a beautiful airy crumb without any elbow grease. If you prefer to plan ahead, you can also refrigerate the dough for up to 14 hours to develop even more complex flavors.
Step 3: Shape the Dough
Once the dough has puffed up nicely, gently turn it out onto a floured surface. Shape it into a loose ball with tender hands, which helps maintain the airy pockets inside that we all love in artisan bread. Dust the top lightly with flour, set it on parchment paper, then cover with a kitchen towel and let it rest for another 30 minutes. This final rest helps the dough relax for baking.
Step 4: Prepare Your Oven and Pot
While the dough is resting, place a Dutch oven or cast-iron pot with its lid on into your oven and preheat it to a toasty 440°F. This step is crucial because the preheated pot mimics the steam ovens used in professional bread baking, giving you an irresistibly crispy crust.
Step 5: Bake to Perfection
Carefully transfer the dough along with the parchment paper into your hot Dutch oven. Put the lid on and bake for 30 minutes—this traps steam inside, helping the bread rise evenly and form that signature crust. After 30 minutes, remove the lid and bake a few more minutes until your bread is gorgeously golden brown. Then, transfer your loaf to a wire rack to cool completely—resist the urge to slice it too soon, or you’ll lose the delightful texture inside!
How to Serve Easy No-Knead Artisan Bread Recipe
Garnishes
This bread is a fantastic canvas, so consider sprinkling coarse sea salt or fresh rosemary on top before baking for a fragrant twist. A drizzle of olive oil or slathered herb butter just before serving can elevate the experience to something truly memorable.
Side Dishes
Easy No-Knead Artisan Bread Recipe pairs exceptionally well with hearty soups like tomato basil or a creamy mushroom stew. It’s also a perfect companion for fresh salads, cheeses, and charcuterie boards—perfect for casual dinners or sophisticated gatherings.
Creative Ways to Present
For a rustic yet elegant presentation, slice the bread thick and serve in a bread basket lined with a linen napkin. You can also hollow out a loaf to create a unique bread bowl for soups or dips, impressing guests with a charming homemade touch.
Make Ahead and Storage
Storing Leftovers
If you happen to have any bread leftover (which might be tough!), store it in a paper bag or bread box at room temperature to keep the crust crisp and the inside soft. It’s best enjoyed within 3-4 days for peak freshness and flavor.
Freezing
To keep your Easy No-Knead Artisan Bread Recipe fresh longer, wrap it tightly in plastic wrap and aluminum foil, then place it in the freezer. Bread freezes beautifully and can be stored this way for up to 3 months without losing its incredible texture.
Reheating
When you’re ready to enjoy your bread again, thaw it at room temperature and revive the crust by warming it in a 350°F oven for 10-15 minutes. This little trick brings back that fresh-baked crunch and makes every slice taste just as amazing as day one.
FAQs
Can I use active dry yeast instead of instant yeast?
Absolutely! The recipe works just as well with active dry yeast. Just mix it with the warm water and let it activate for about 5 minutes before combining with the dry ingredients for best results.
Do I have to use a Dutch oven or cast-iron pot?
While the Dutch oven or cast-iron pot helps create the best crust by trapping steam, you can bake the bread on a preheated baking sheet with a pan of water in the oven to simulate steam, though the crust might be slightly less crisp.
Can I add herbs or seeds to the dough?
Yes! Adding ingredients like rosemary, thyme, or sesame seeds before baking adds wonderful flavor and texture. Just mix them into the dry ingredients or sprinkle on top right before baking.
How do I know when the bread is fully baked?
The crust should be golden brown and firm. You can also tap the bottom of the loaf—it should sound hollow when fully baked.
Is this recipe suitable for beginners?
Definitely! This Easy No-Knead Artisan Bread Recipe is famously beginner-friendly with minimal hands-on time, making it perfect for anyone new to baking or short on time.
Final Thoughts
There’s something truly special about baking your own bread, especially when it’s as effortless as this Easy No-Knead Artisan Bread Recipe. With just a few simple ingredients and a bit of patience, you can fill your home with the warm, cozy aroma of fresh bread and enjoy that incredible homemade taste anytime. So go ahead and give it a try—your kitchen and taste buds will thank you!
Print
Easy No-Knead Artisan Bread Recipe
- Prep Time: 15 minutes
- Cook Time: 35 minutes
- Total Time: 4 hours 50 minutes
- Yield: 1 loaf (1 serving)
- Category: Bread
- Method: Baking
- Cuisine: American
- Diet: Vegetarian
Description
This Easy No-Knead Artisan Bread recipe yields a crusty, flavorful loaf with minimal effort. Combining simple ingredients like flour, salt, yeast, and water, this bread requires no kneading and minimal hands-on time. The long rise followed by baking in a preheated Dutch oven creates an airy, golden crust, making it perfect for beginner bakers or anyone craving homemade artisan bread.
Ingredients
Dry Ingredients
- 3 cups all-purpose flour
- 2 teaspoons kosher salt
- ½ teaspoon instant yeast (or active dry yeast)
Wet Ingredients
- 1 ⅓ cups warm water (about 110°F)
Instructions
- Mix Ingredients: Whisk the flour, kosher salt, and yeast together in a large mixing bowl. Add the warm water and stir with a rubber spatula or wooden spoon until a sticky dough forms.
- First Rise: Cover the bowl and let the dough rise at room temperature for 4 hours. Alternatively, refrigerate the dough for up to 14 hours, which develops more flavor.
- Shape Dough: Turn the dough out onto a floured surface and gently shape it into a round ball. Lightly dust the top with flour, place it on a sheet of parchment paper, then cover loosely with a kitchen towel and let it rest for 30 minutes.
- Preheat Oven and Dutch Oven: While the dough rests, place a Dutch oven or cast-iron pot with its lid inside your oven and preheat to 440°F to ensure the pot is extremely hot for baking.
- Bake Covered: After the resting period, carefully remove the hot Dutch oven from the oven and transfer the parchment paper with the dough into the pot. Cover with the lid and bake for 30 minutes to create steam and a crisp crust.
- Bake Uncovered: Remove the lid carefully (watch out for steam) and continue baking for an additional few minutes, until the bread is golden brown and has a nicely crisp crust.
- Cool and Serve: Transfer the bread to a wire rack and allow it to cool for at least 30 minutes before slicing. This helps the crumb set properly. Serve and enjoy your homemade artisan bread!
Notes
- You can use either instant yeast or active dry yeast; if using active dry yeast, ensure the warm water is around 110°F for proper activation.
- The long fermentation time enhances flavor and texture; refrigeration can slow this process but yields excellent results.
- Be cautious when handling the hot Dutch oven; use oven mitts and transfer carefully.
- For best crust, use a heavy-duty Dutch oven or cast-iron pot that retains heat well.
- Allow bread to cool fully before slicing to maintain structure and prevent gumminess.


